
For organisers
From an empty event to a full hall: set the format, invite participants, keep the schedule healthy, print badges, run the check-in desk and hand every exhibitor their leads.
Sign in to the organiser console
Go to /admin/login and sign in with your VNIS work email — a 6-digit code is emailed to you. Organiser accounts are separate from participant accounts.
Roles: Staff can check people in, print badges and read everything; Managers can also edit events, participants and meetings and use “View as”; Owners also manage organiser accounts.
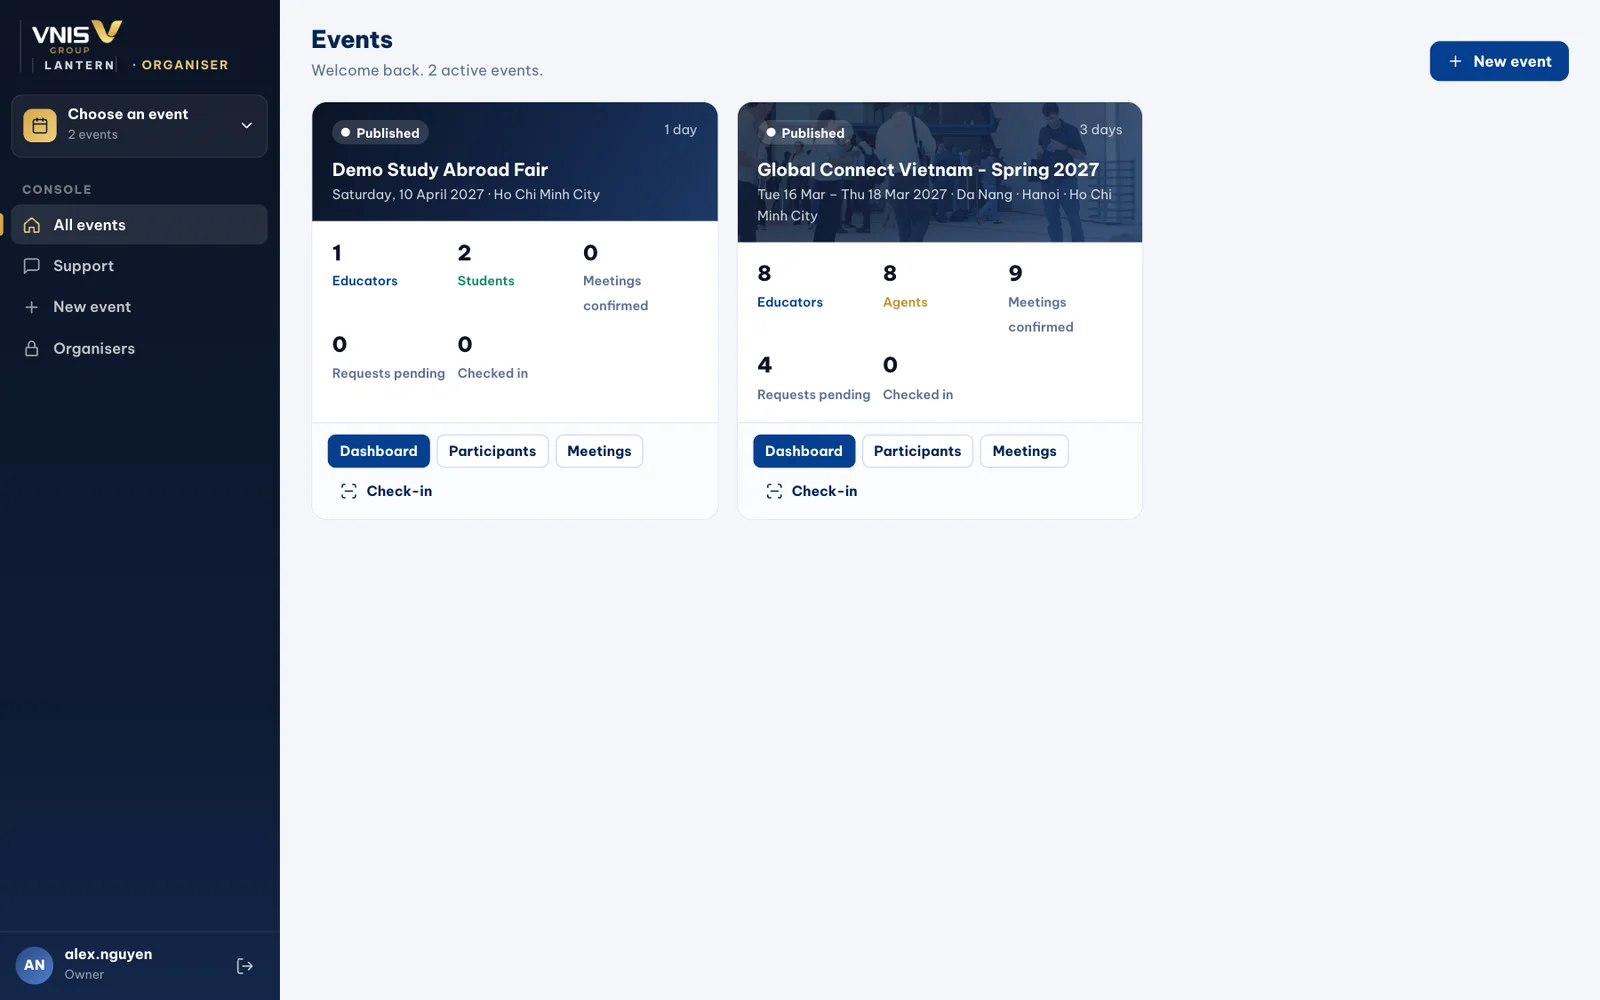
Create the event and pick its format
“New event” → name, dates, time zone and status. Choose a format preset: Agent fair (educators ⇄ agents, one-to-one meetings) or Student fair (students self-register, educators scan badges). Everything can be fine-tuned afterwards.
Roles decide who can request meetings with whom, who can scan whose badge, who appears in the directory and who may self-register. The consent sentence shown at registration is set per role and stored verbatim with every registration.
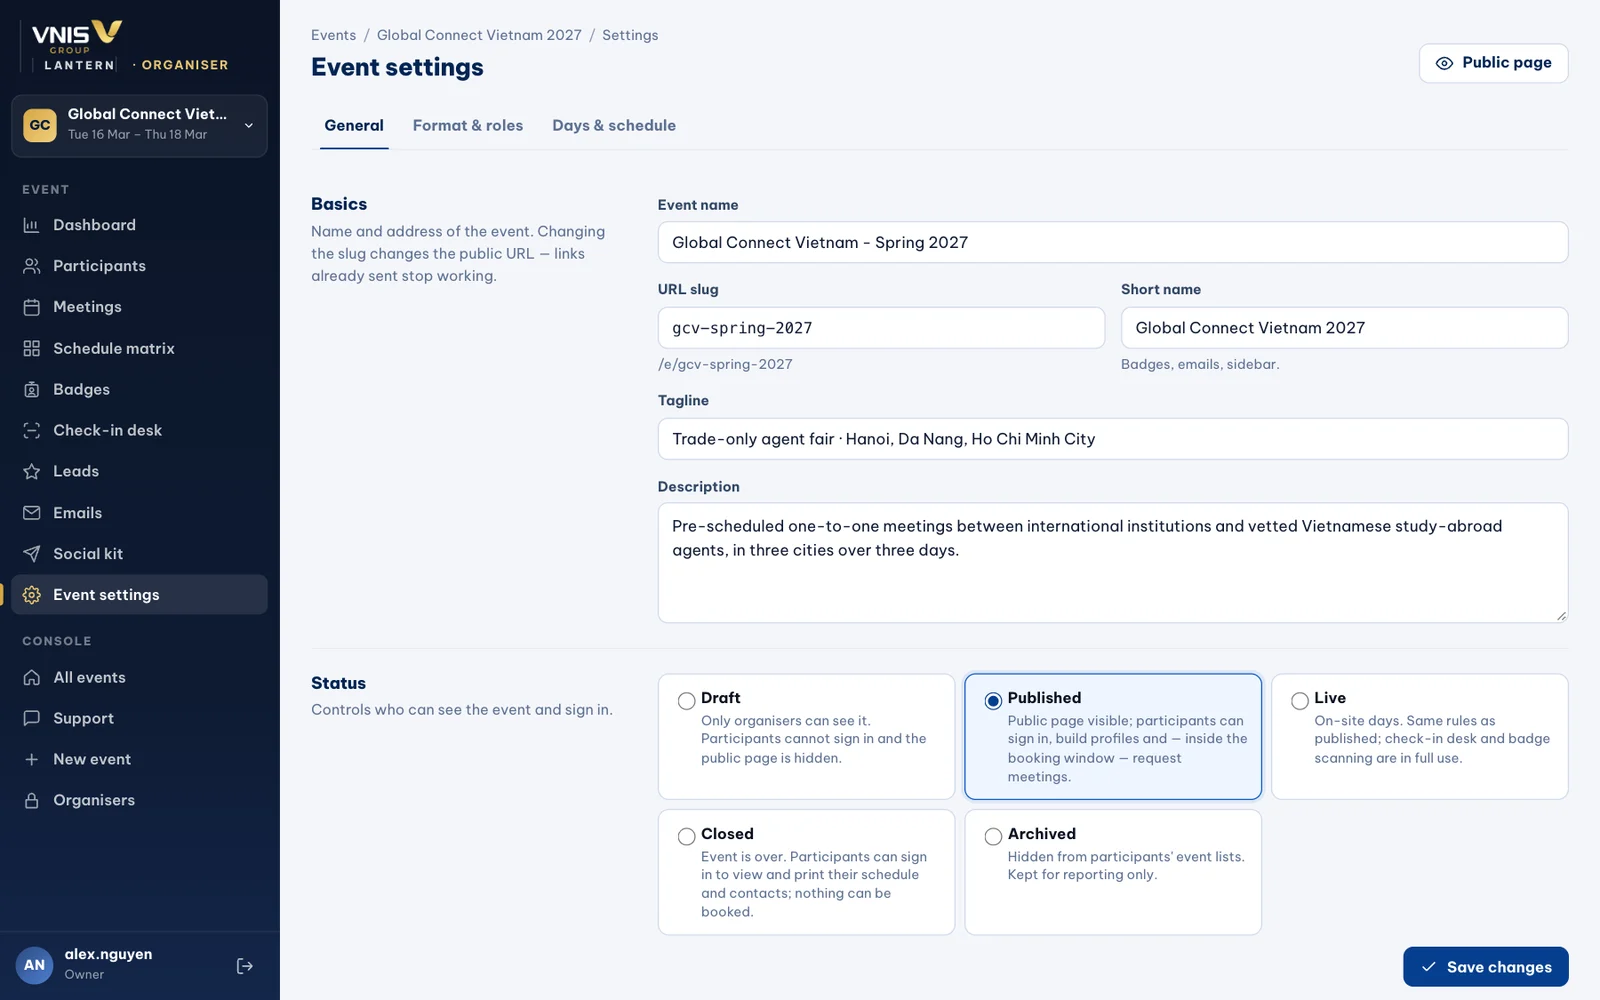
Set the days, slots and breaks
Add one day per city or date, with venue, meeting hours, slot length (e.g. 25 min) and the gap between slots (e.g. 5 min). Add breaks such as lunch or seminars — the live preview shows the exact grid participants will see.
Set when meeting requests open and close. After closing, participants keep view and print access.
Add participants and send invitations
Import a spreadsheet (CSV) of educators or agents — columns are matched automatically and every row is validated before anything is saved — or add people one by one.
Select participants and send invitations: each person gets an email with a sign-in link. Self-registrations that need approval wait under the “Pending” filter.
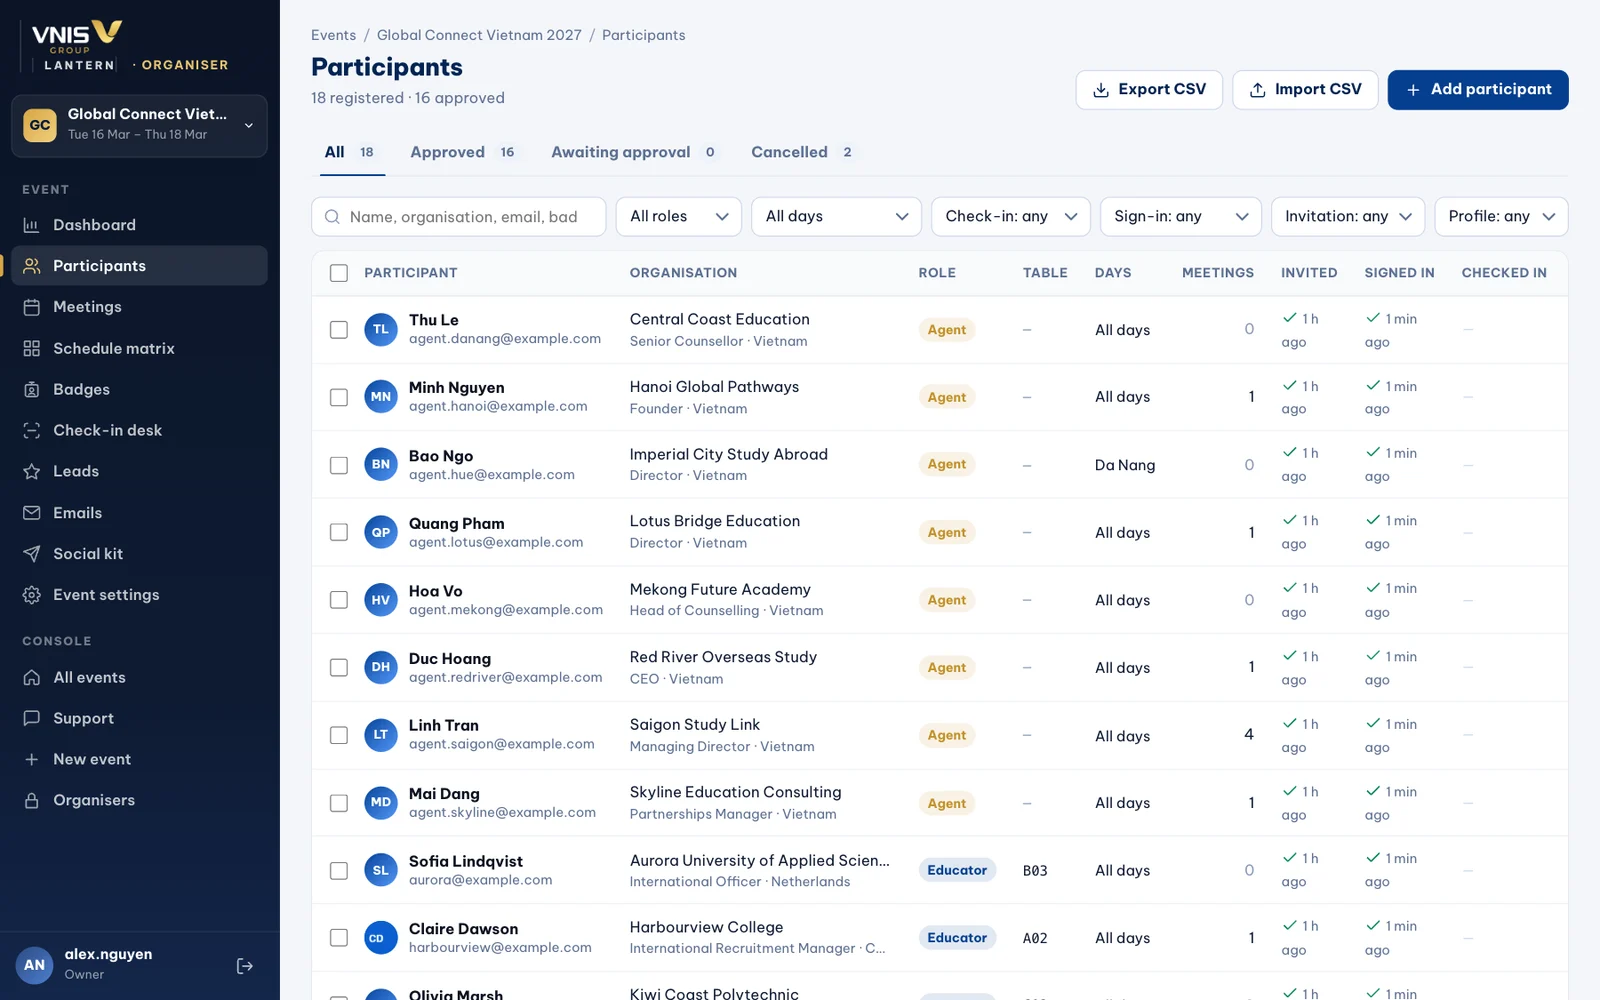
Help someone with “View as”
On any participant, “View as” opens the portal exactly as they see it — useful when an exhibitor calls with a question or asks you to fix their schedule.
A red banner stays on screen the whole time; “Exit view” brings you back. The session lasts one hour, and the start, end and every action taken are recorded in the audit log under your name.
Keep the schedule healthy
The event dashboard shows sign-ins, completed profiles, requests and acceptance rate, and flags participants with few meetings — with their best matches and a one-click “Book best free slot”.
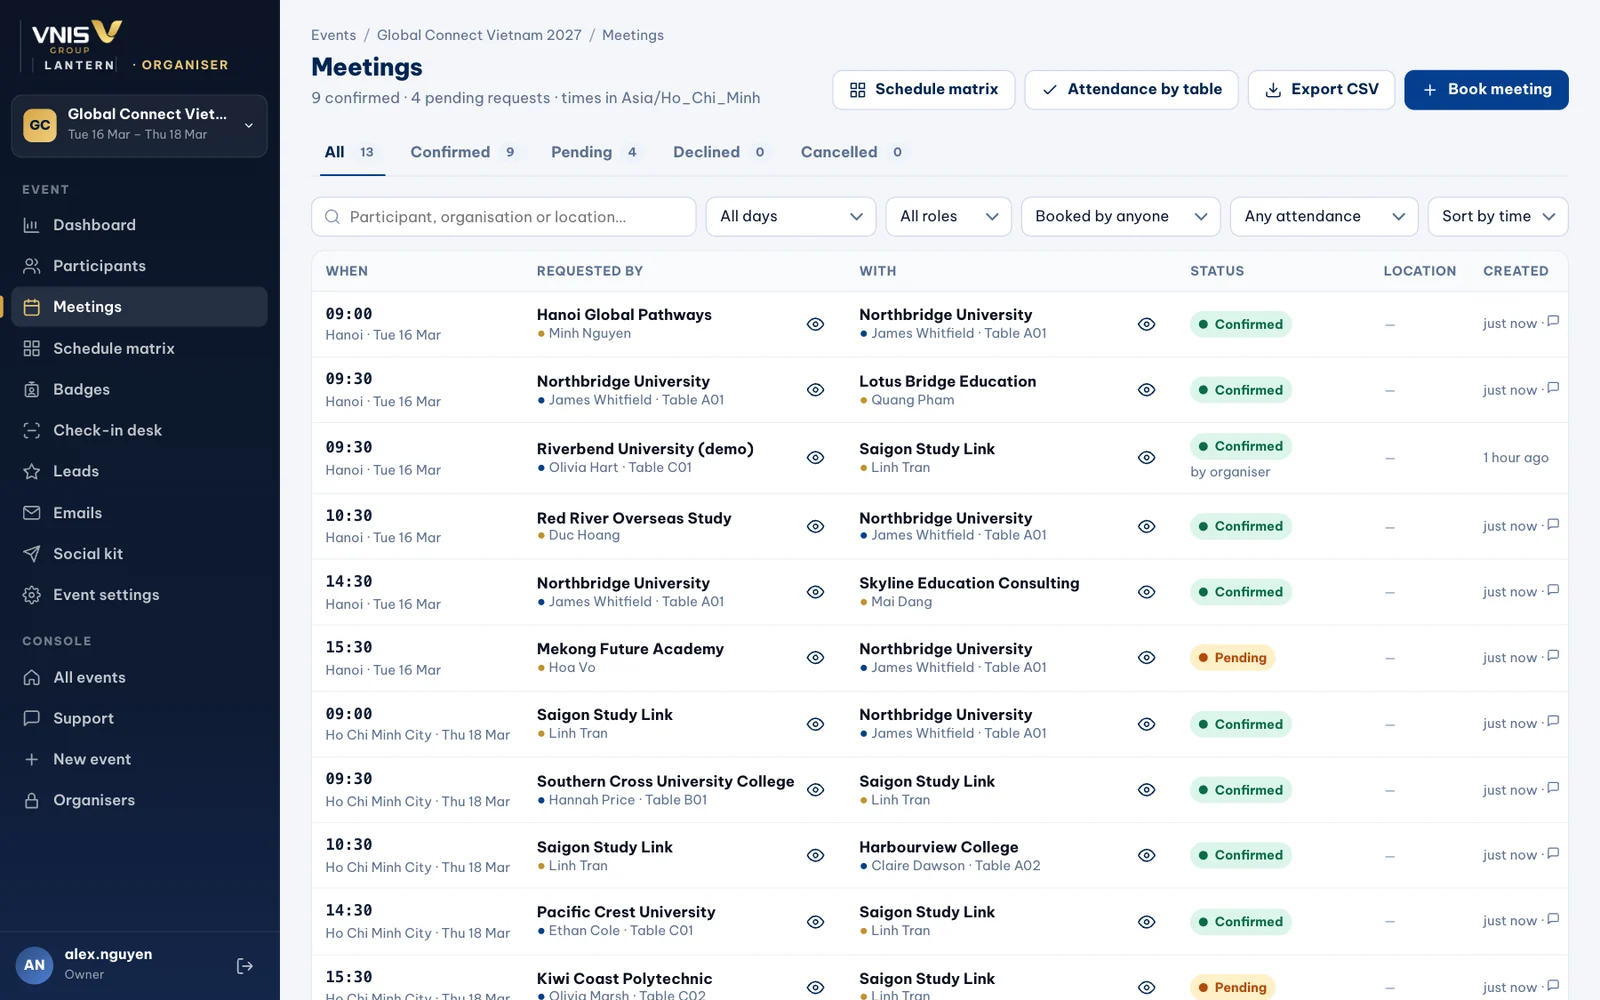
“Meetings” lists every request and meeting. Book a meeting between any two participants, move or cancel one, and open the matrix view (tables × time slots) to see each day at a glance.
Print badges
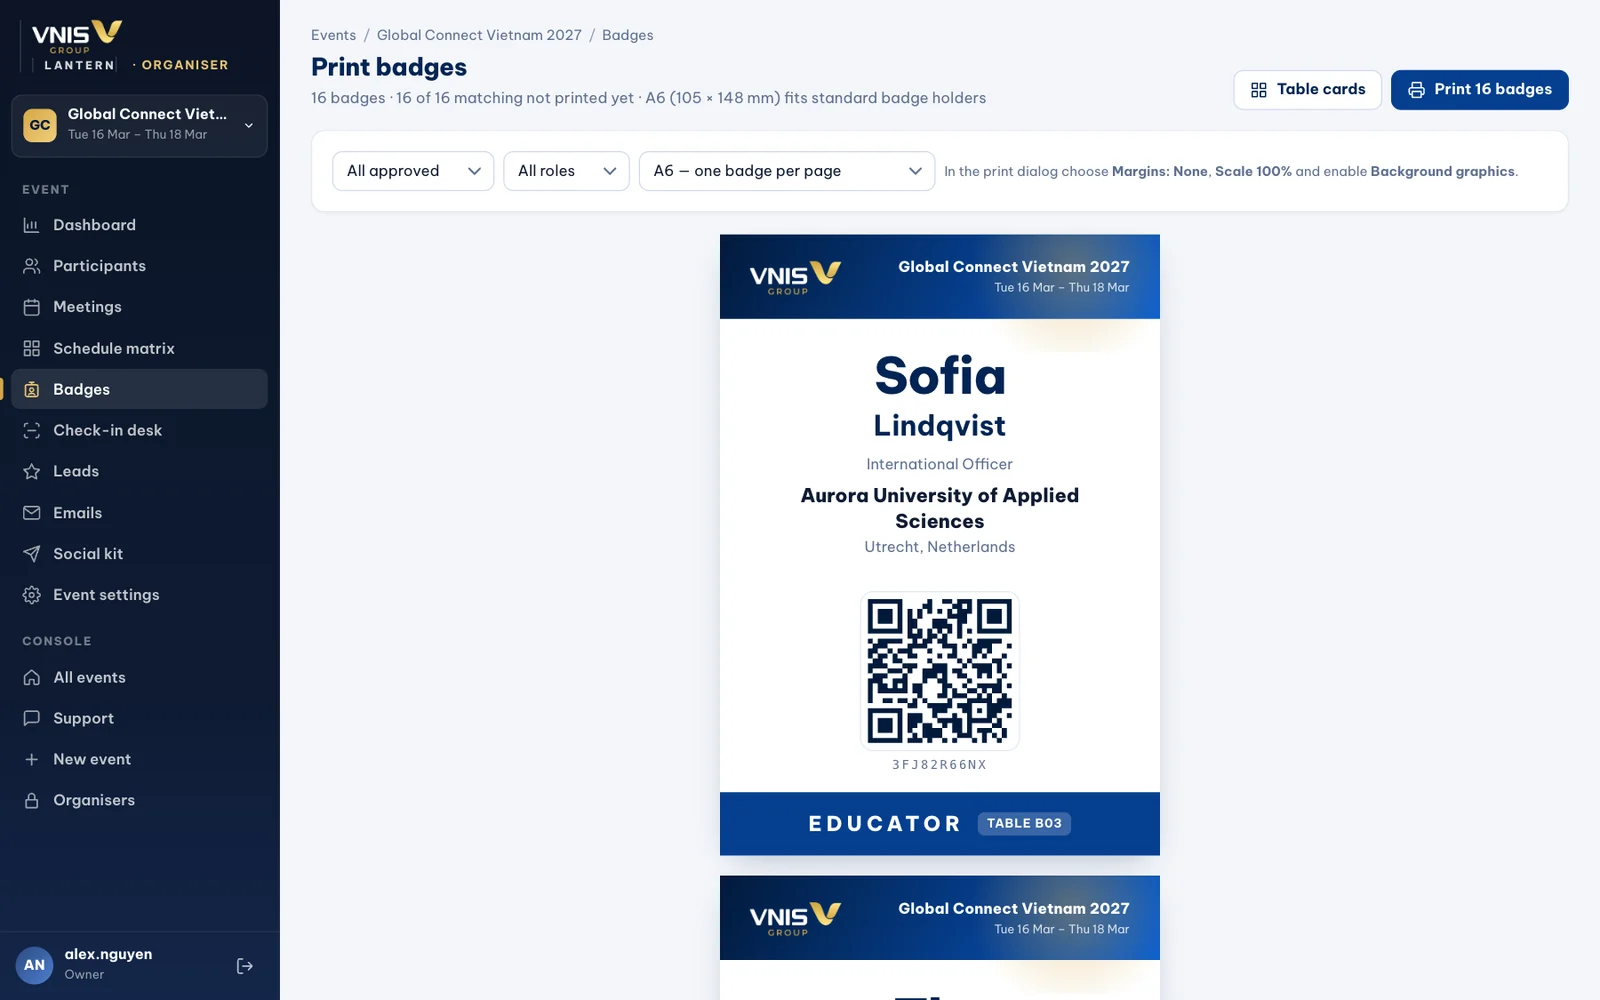
“Badges” prints A6 badges (one per page, for badge holders) or four per A4 sheet with crop marks. Filter by role or print just a selection — for example late registrations on the morning of the event.
Every badge carries a QR code linked to events.vnis.education, so never print badges from a test site.
Run the check-in desk
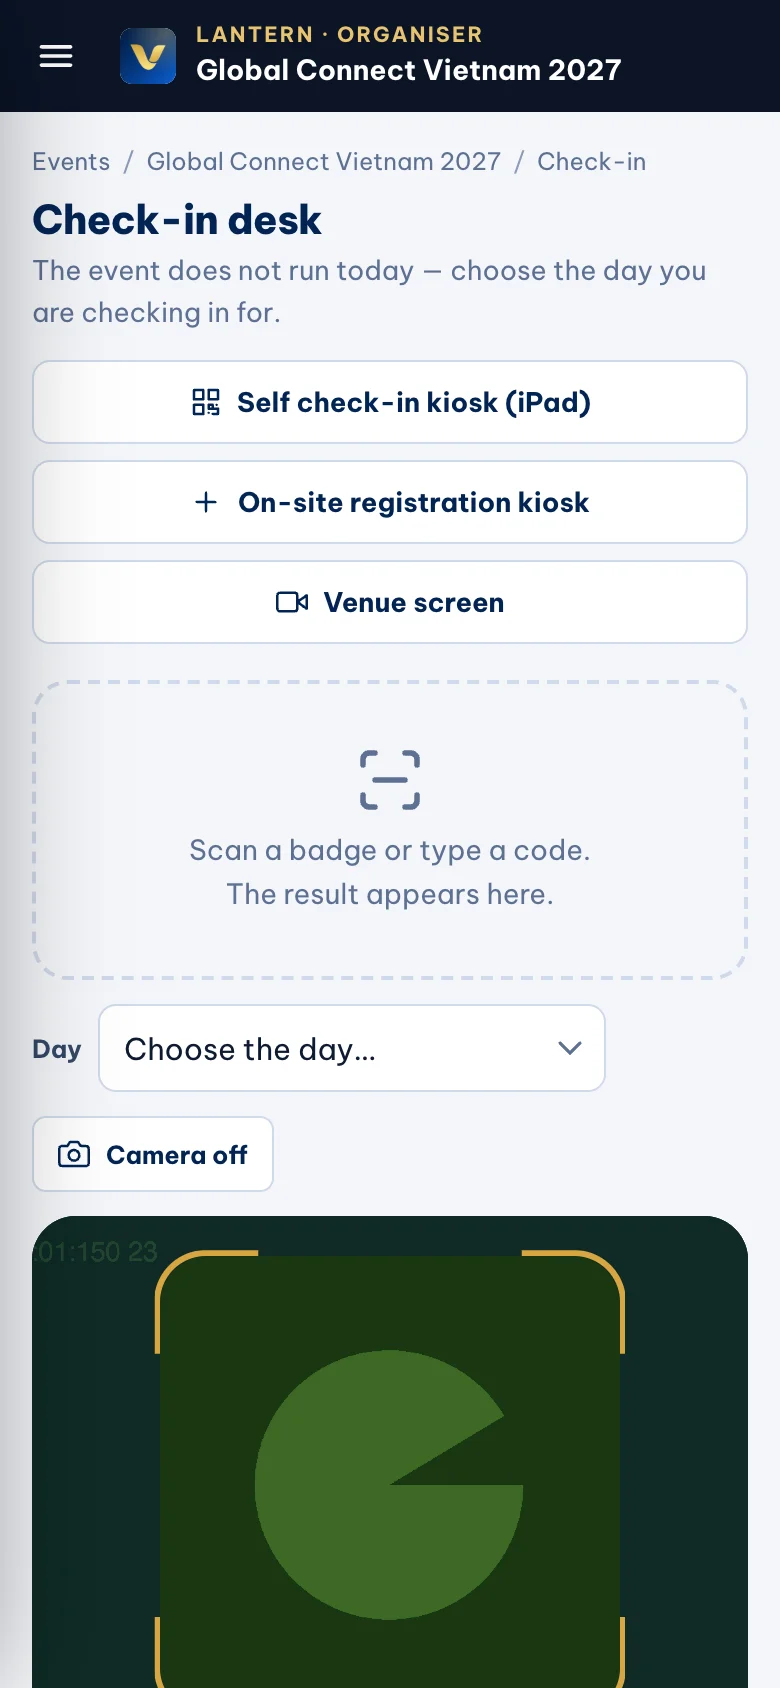
Open “Check-in” on a phone or tablet at registration. Scan each badge (or search by name); a large green card confirms the person, amber means already checked in, red means not registered or not approved.
Walk-ins: add them as participants, then print their badge from the same screen.
Put the venue screen on a TV
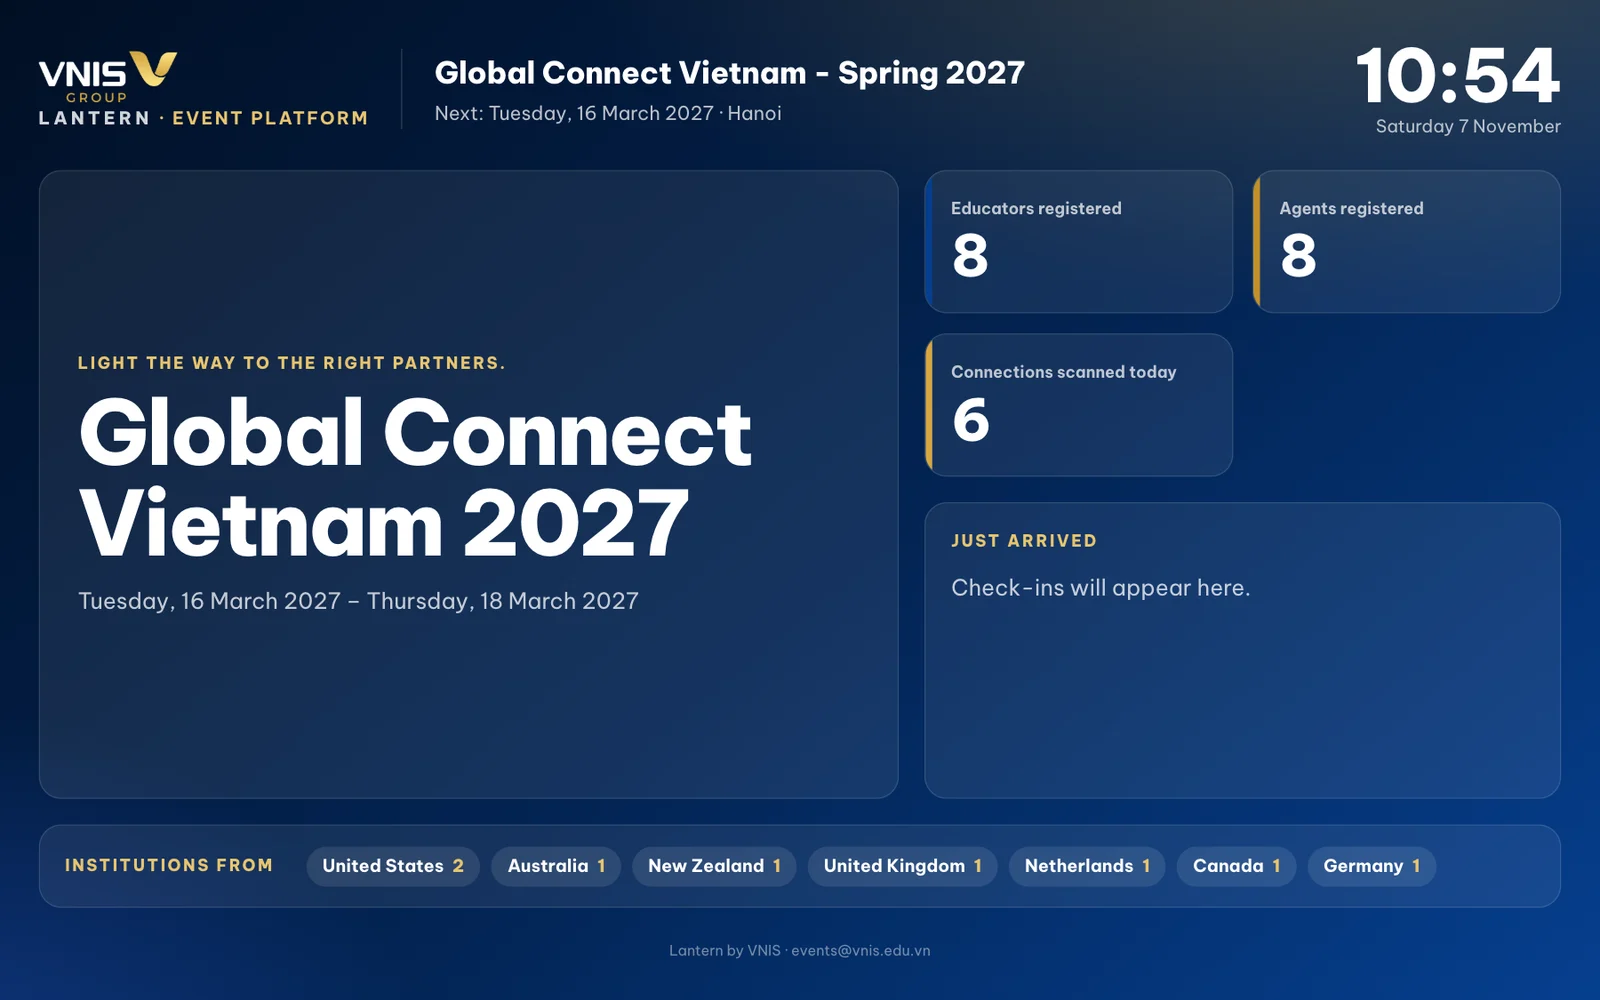
Open “Venue screen” on a browser connected to a TV and sign in once. It shows the clock, the current meeting round with minutes left, check-ins and meetings held today, and organisations arriving — never students’ names. It refreshes by itself.
Wrap up
Export participants, meetings and leads as spreadsheets. For student fairs the leads export is what each institution receives — it contains only the fields students agreed to share.
Set the event to “closed”: participants can still view and print their schedules and contacts, but nothing can be changed. “Archived” hides it completely.
Frequently asked
Someone did not receive their login code.
Ask them to check spam, then confirm their email in “Participants” — the code only goes to the exact registered address. You can also use “View as” to check their portal.
Two people were booked into the same slot?
That cannot happen: the database refuses a second meeting in the same slot for the same person, even when two requests are accepted at the same instant.
Can participants see each other’s meetings?
No. Each participant only sees their own schedule, requests, messages and contacts.
Need a hand? events@vnis.edu.vn