
For agents
How to meet the institutions that fit your students: register, get approved, request the right meetings and walk out with every contact and note in one place.
Register and wait for approval
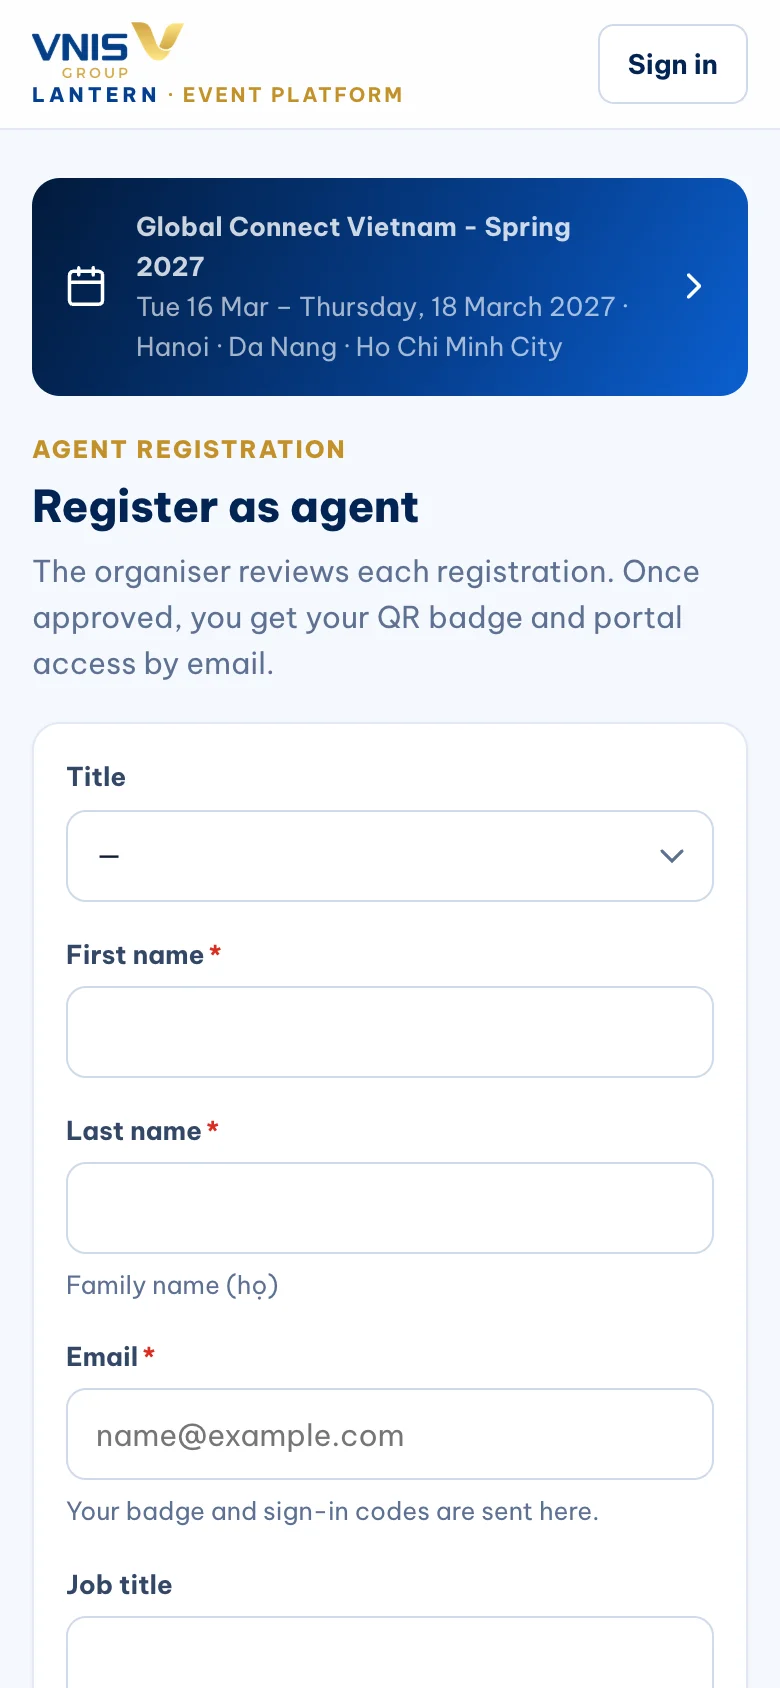
Use “Register” on the event page. Fill in your organisation, city, the destinations and levels you work with, and your licence details.
The fair is trade-only, so the organiser checks each agency. You receive an email as soon as you are approved — usually within two working days.
Sign in with your email — no password
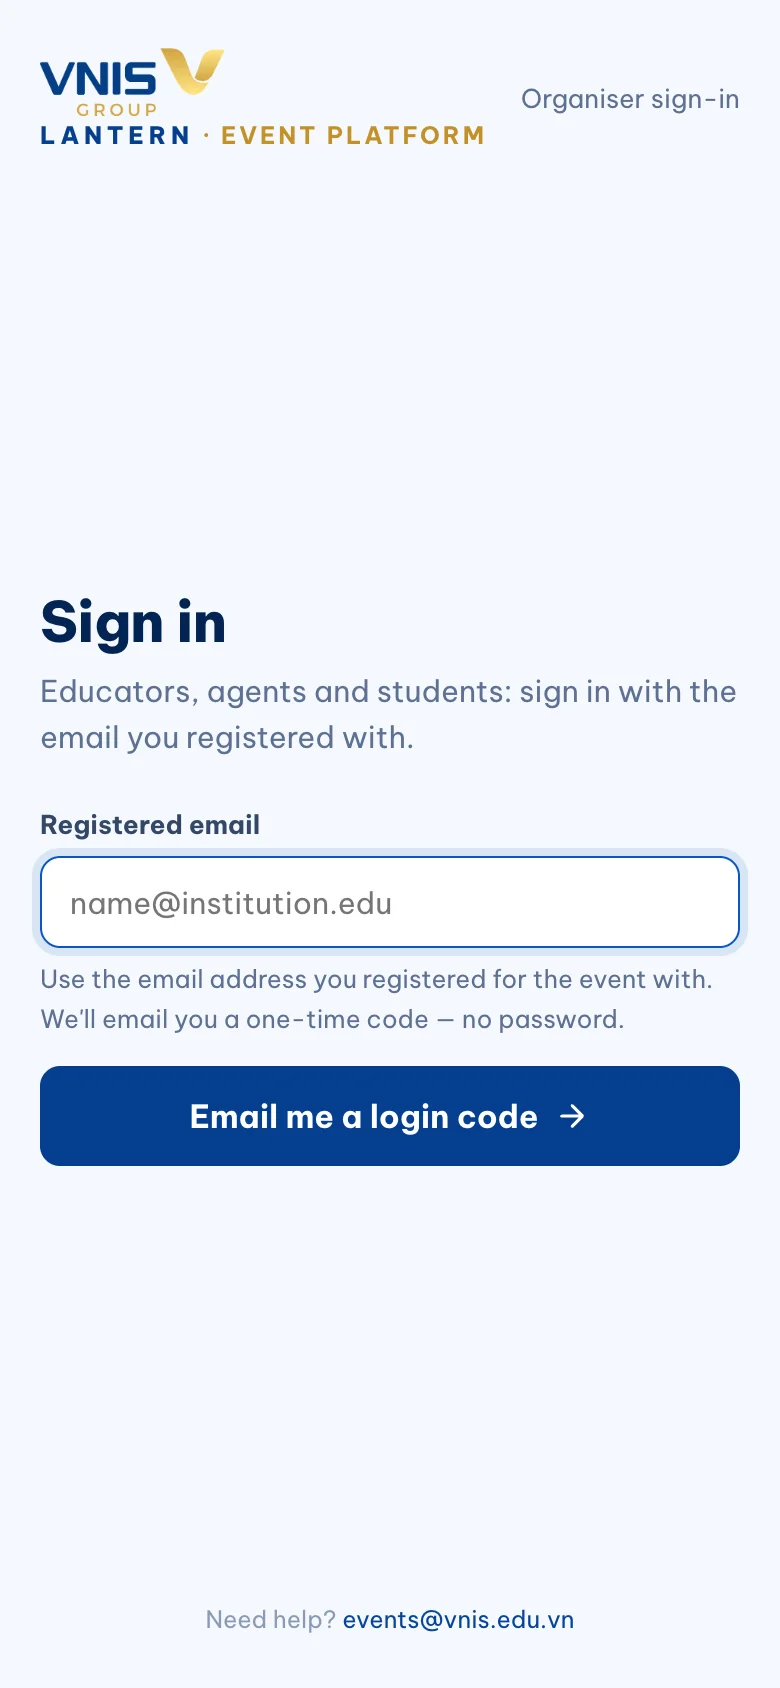
Open the link in your invitation email, or go to the event site and choose “Sign in”.
Enter the email address you registered with and tap “Email me a login code”. A 6-digit code arrives within a minute; type it in and you are in.
You stay signed in on that device for 30 days. On a shared computer, use “Sign out” in the account menu when you finish.
Complete your profile
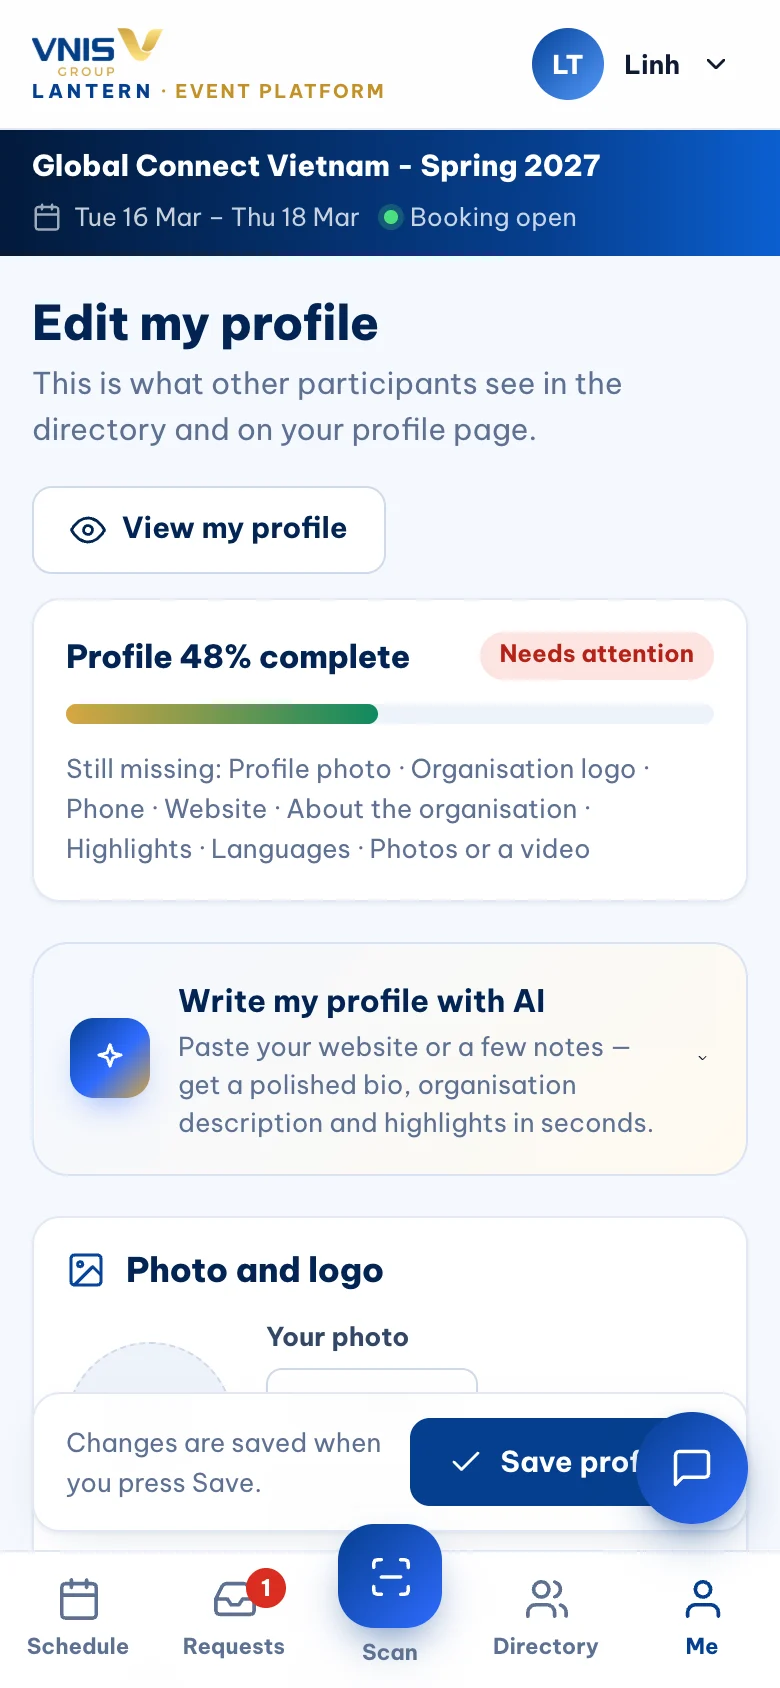
Institutions choose whom to meet from your profile. In “Profile”, add your photo and logo, a short description of your agency (offices, team size, the students you send) and the destinations and levels you recruit for.
Tick the days and cities you attend so institutions only propose times when you are there.
Tip: “Write my profile with AI” turns a few notes about your agency into a polished profile in seconds — in English, even if you write your notes in Vietnamese.
Start with your top matches
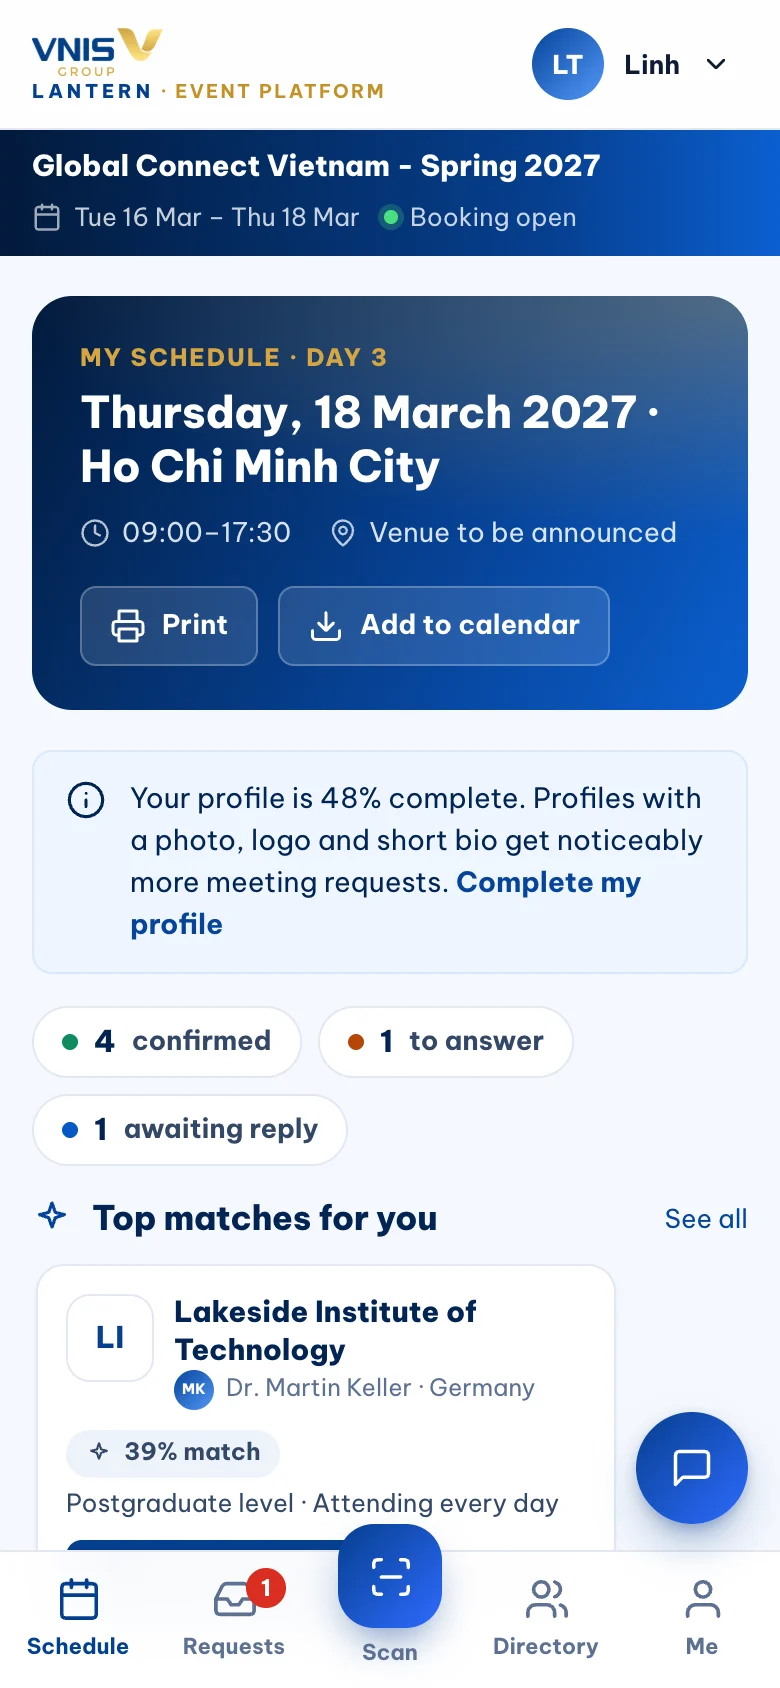
“My schedule” opens with “Top matches for you”: the institutions that best fit your destinations, levels and days, with the reasons spelled out. Request from there in two taps.
For the full list, open “Directory” — sorted by best match, with filters for country, level and day.
Request meetings
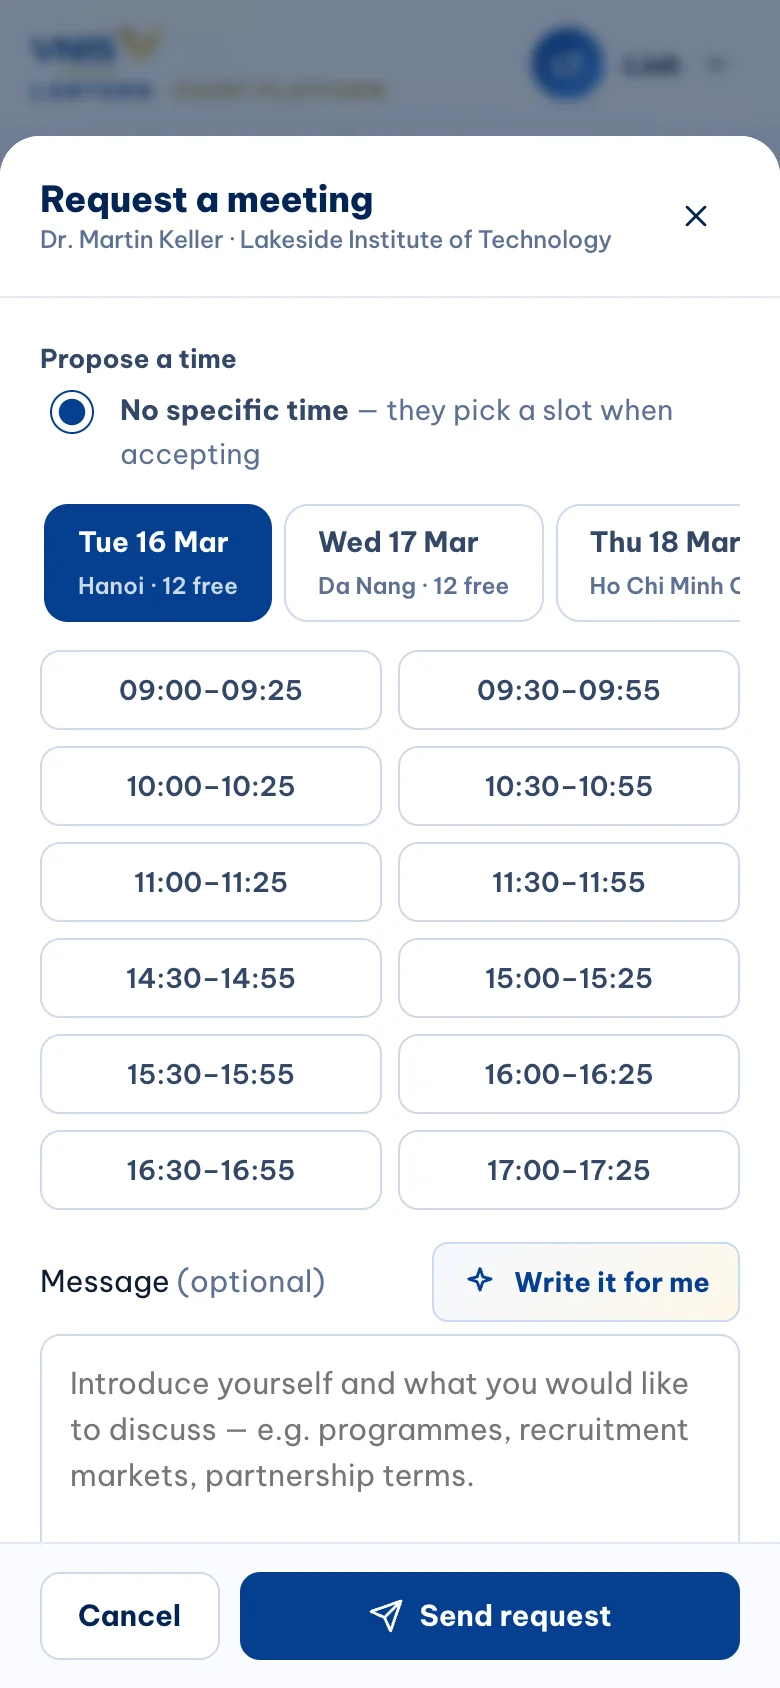
Tap “Request”, choose one of the slots when you are both free (or let the institution choose), and say in one or two sentences which students you would refer — or tap “Write it for me” for three ready-made drafts based on both profiles.
You can have up to 40 requests waiting for an answer at once; withdraw ones you no longer need from “Requests” → Sent.
Accept, decline or reschedule
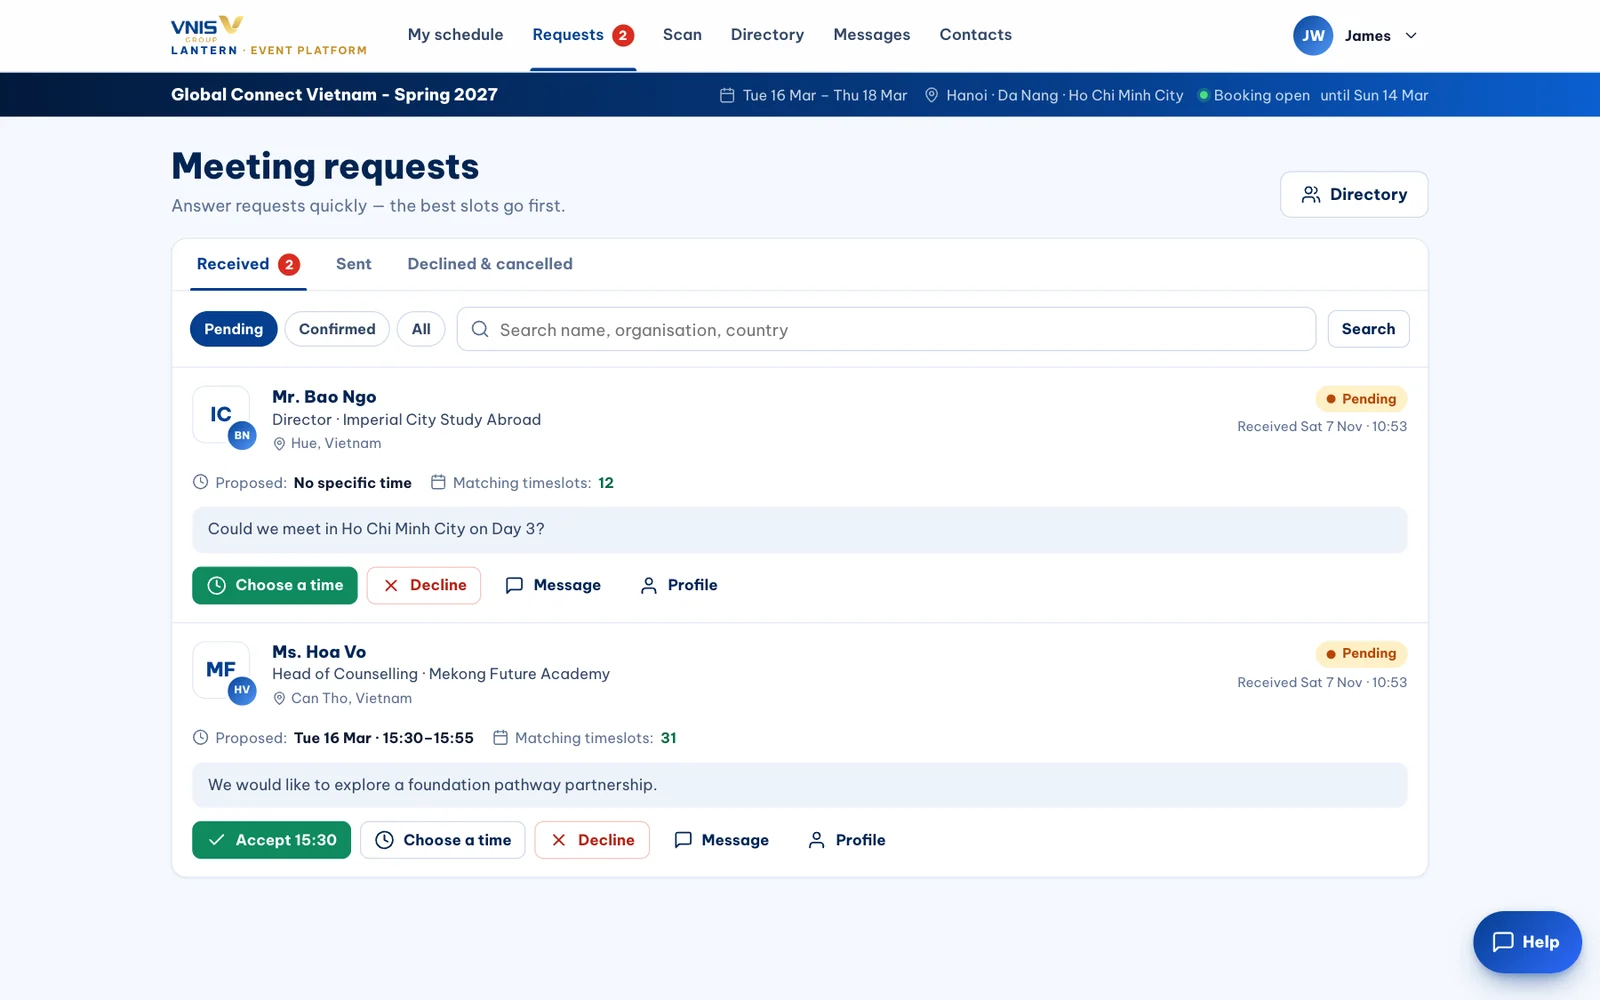
When an institution requests you, accept with one tap or choose another free slot. Every change is emailed to both sides and appears in both schedules immediately.
Your day at a glance
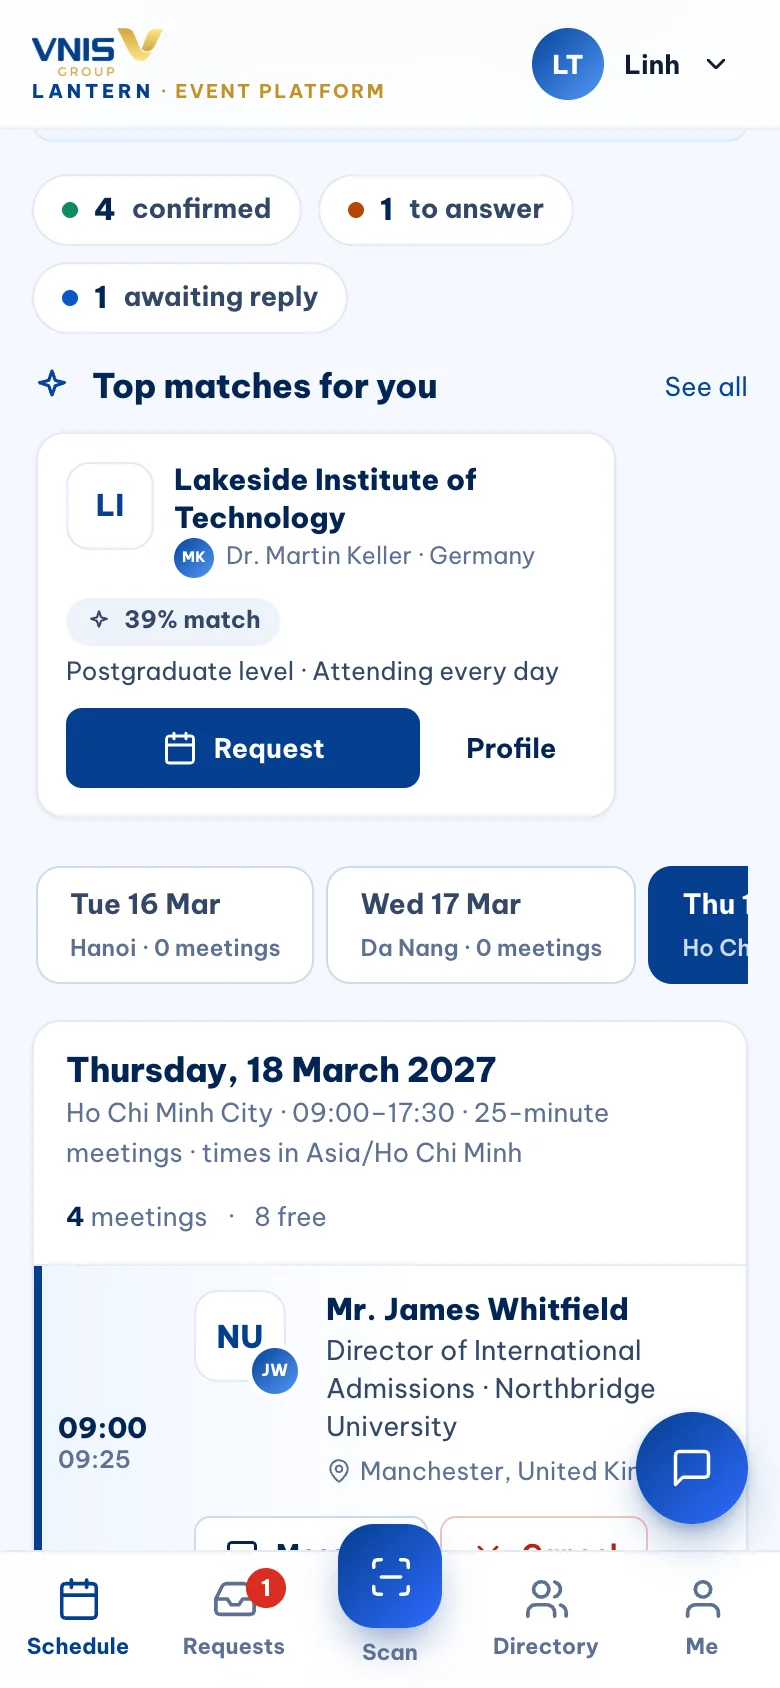
“My schedule” shows each day as a timeline with the institution, table number and time of every meeting. Print it or add it to your calendar.
Put Lantern on your phone’s home screen
Lantern works in the browser — nothing to download. Adding it to your home screen makes it open full-screen like an app, which is handy on event days.
iPhone (Safari): tap Share → “Add to Home Screen”. Android (Chrome): tap ⋮ → “Add to Home screen” or “Install app”.
Badge, check-in and scanning
Show your badge QR at registration (“My badge” → “Show at check-in”).
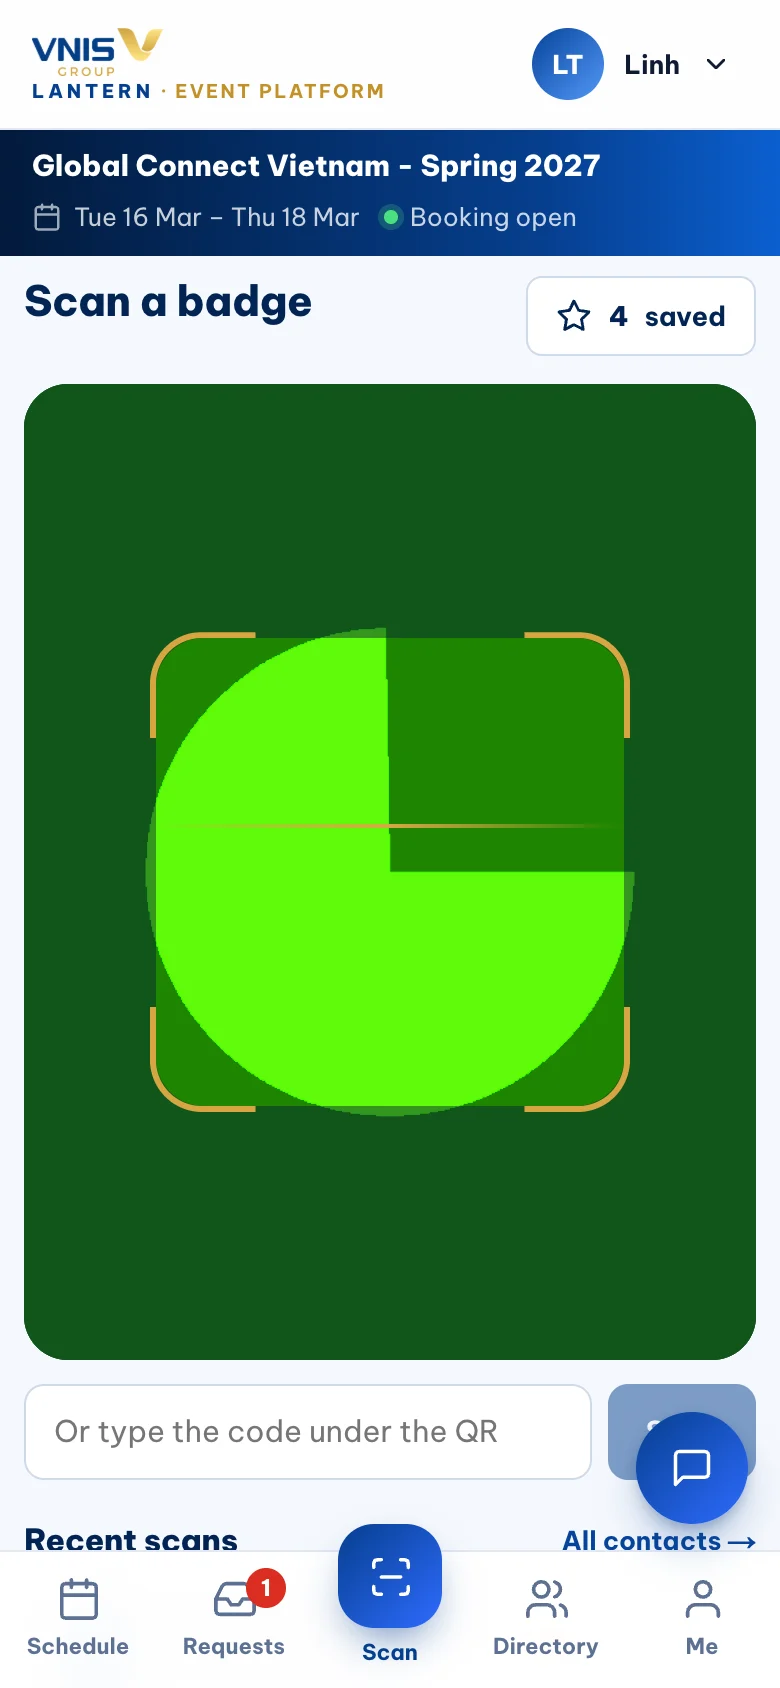
Tap “Scan” to save an institution’s contact from their badge — with your rating and notes — even for meetings that were not booked.
Follow up
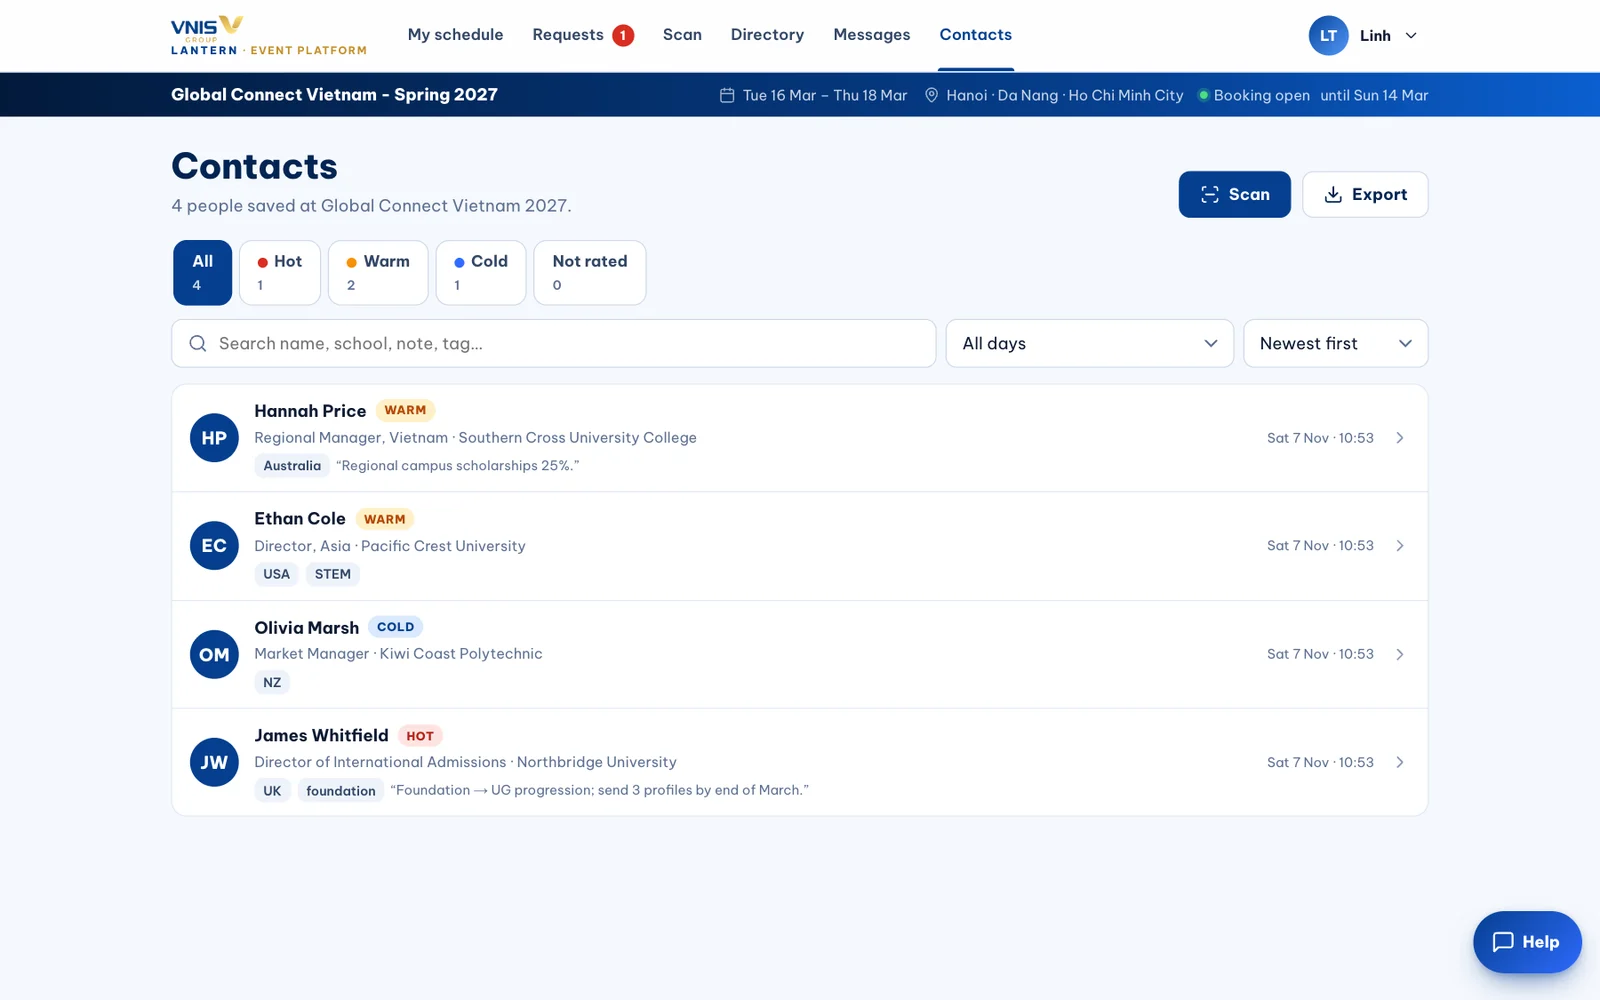
“Contacts” keeps everyone you met with your notes. Export to CSV or vCard and follow up while the conversation is fresh.
Frequently asked
Is there a fee for agents?
Agent places at Global Connect Vietnam are by invitation and approval; the organiser will confirm any conditions with you directly.
Several counsellors from my agency want to attend.
Each person registers separately with their own email so each has their own schedule and badge.
An institution declined — what now?
Their schedule is probably full. Use the directory to find similar institutions; you can still say hello at their table between meetings.
Need a hand? events@vnis.edu.vn