
For educators
Everything an institution representative needs: build a profile that gets requests, find the right agents, fill your schedule with confirmed meetings, and leave each day with every contact saved.
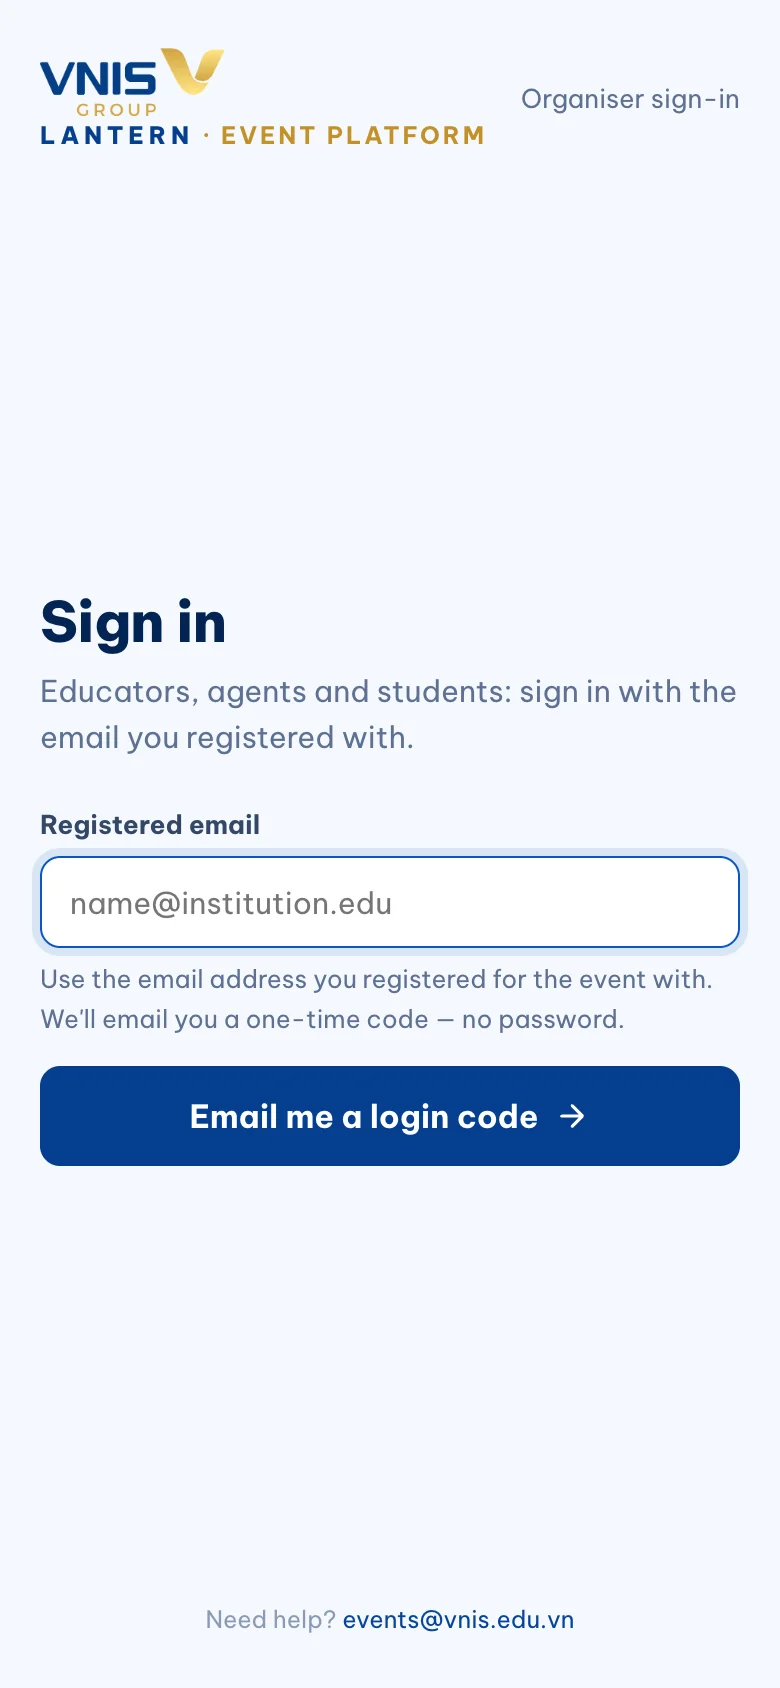
Sign in with your email — no password
Open the link in your invitation email, or go to the event site and choose “Sign in”.
Enter the email address you registered with and tap “Email me a login code”. A 6-digit code arrives within a minute; type it in and you are in.
You stay signed in on that device for 30 days. On a shared computer, use “Sign out” in the account menu when you finish.
Complete your profile first
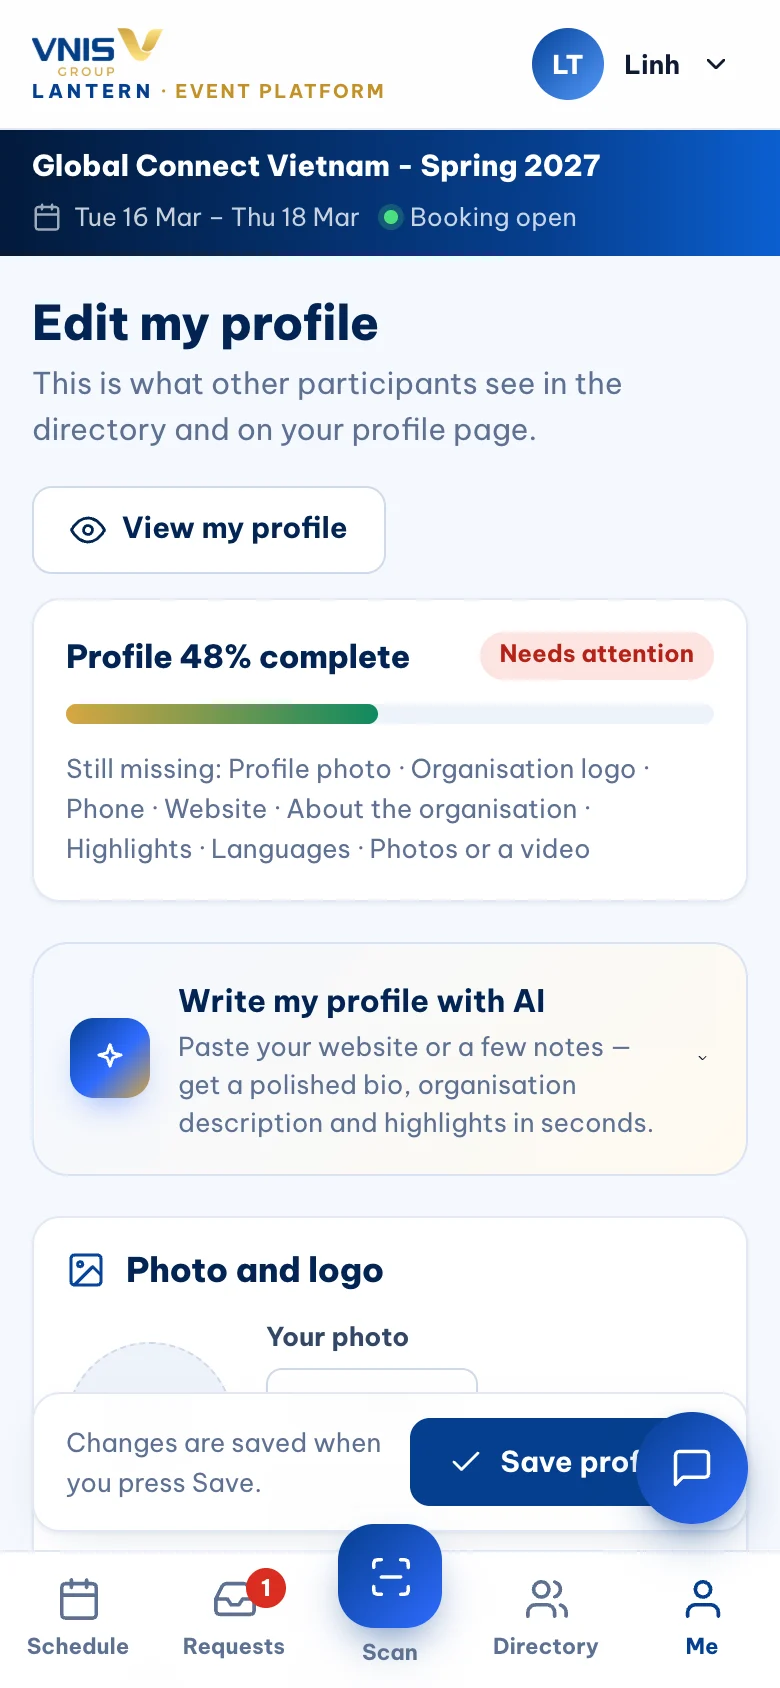
Go to “Profile”. Add your photo and your institution’s logo, a short bio, an “About the organisation” paragraph and a few highlights (programmes, intakes, scholarships).
Choose the study levels you offer and add a video or brochure if you have one. The completeness meter shows what is still missing.
Agents decide whom to meet from your profile — complete profiles receive noticeably more requests.
Find agents that fit — sorted by match
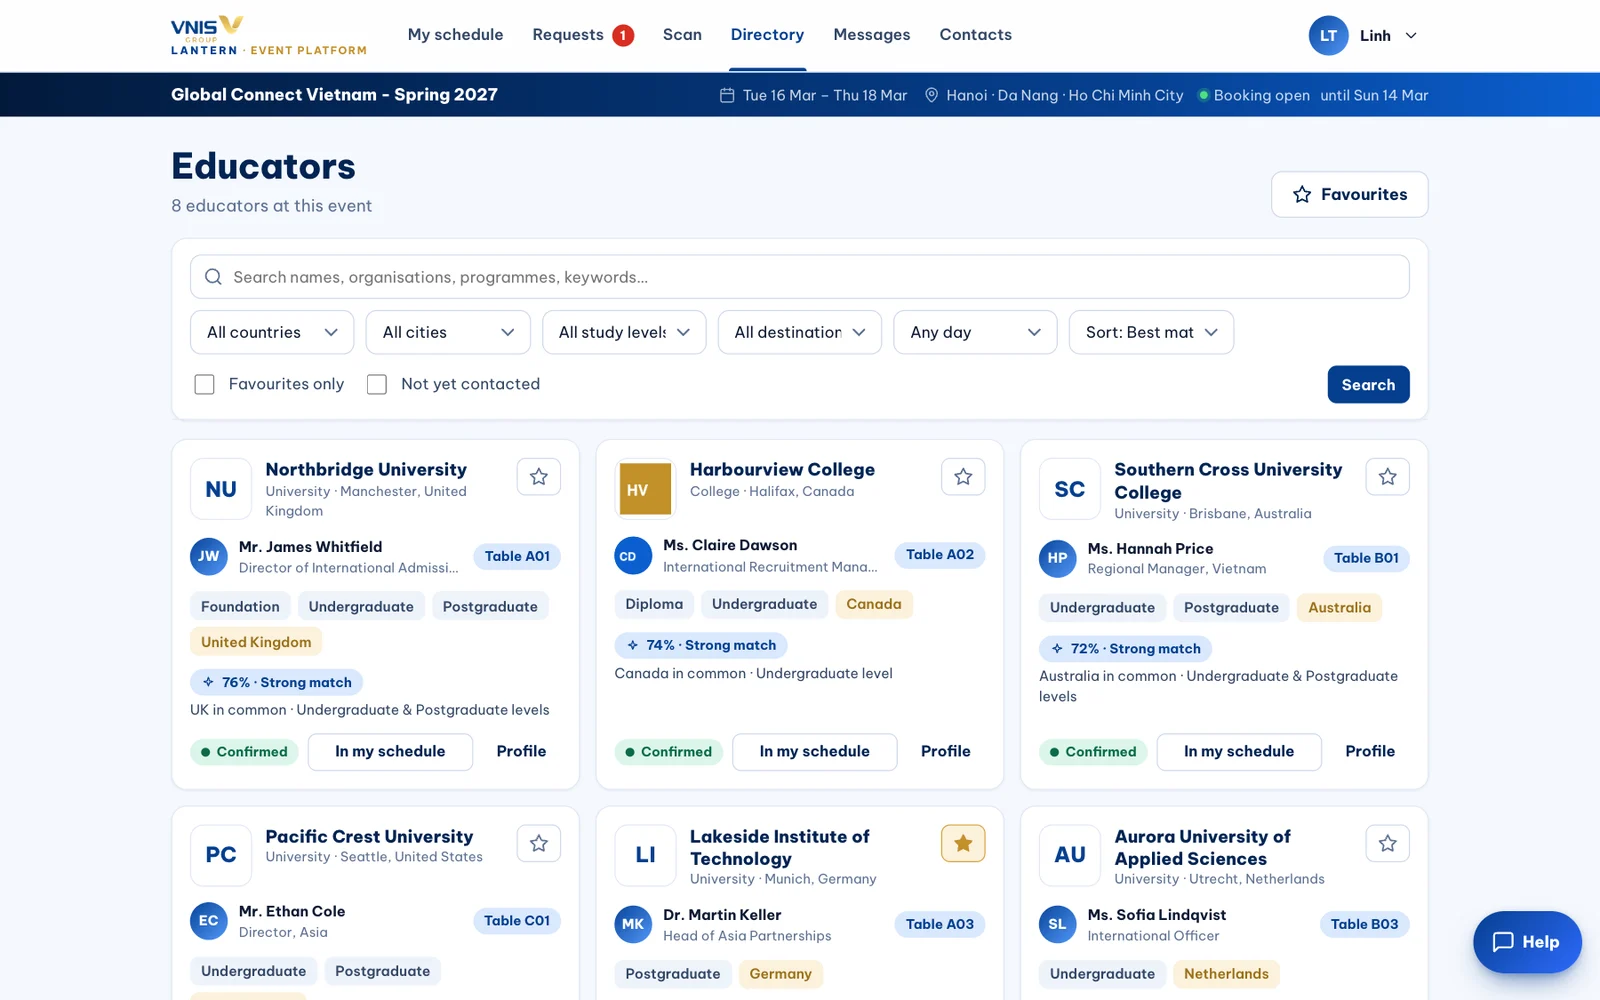
“Directory” lists every approved agent. It is sorted by “Best match” by default: Lantern compares destinations, study levels, days and cities, and shows why each agent fits (for example “UK, Australia in common · Undergraduate level”).
Filter by city, country, level or day, search by name, and tap the star to keep a shortlist of favourites.
Request meetings
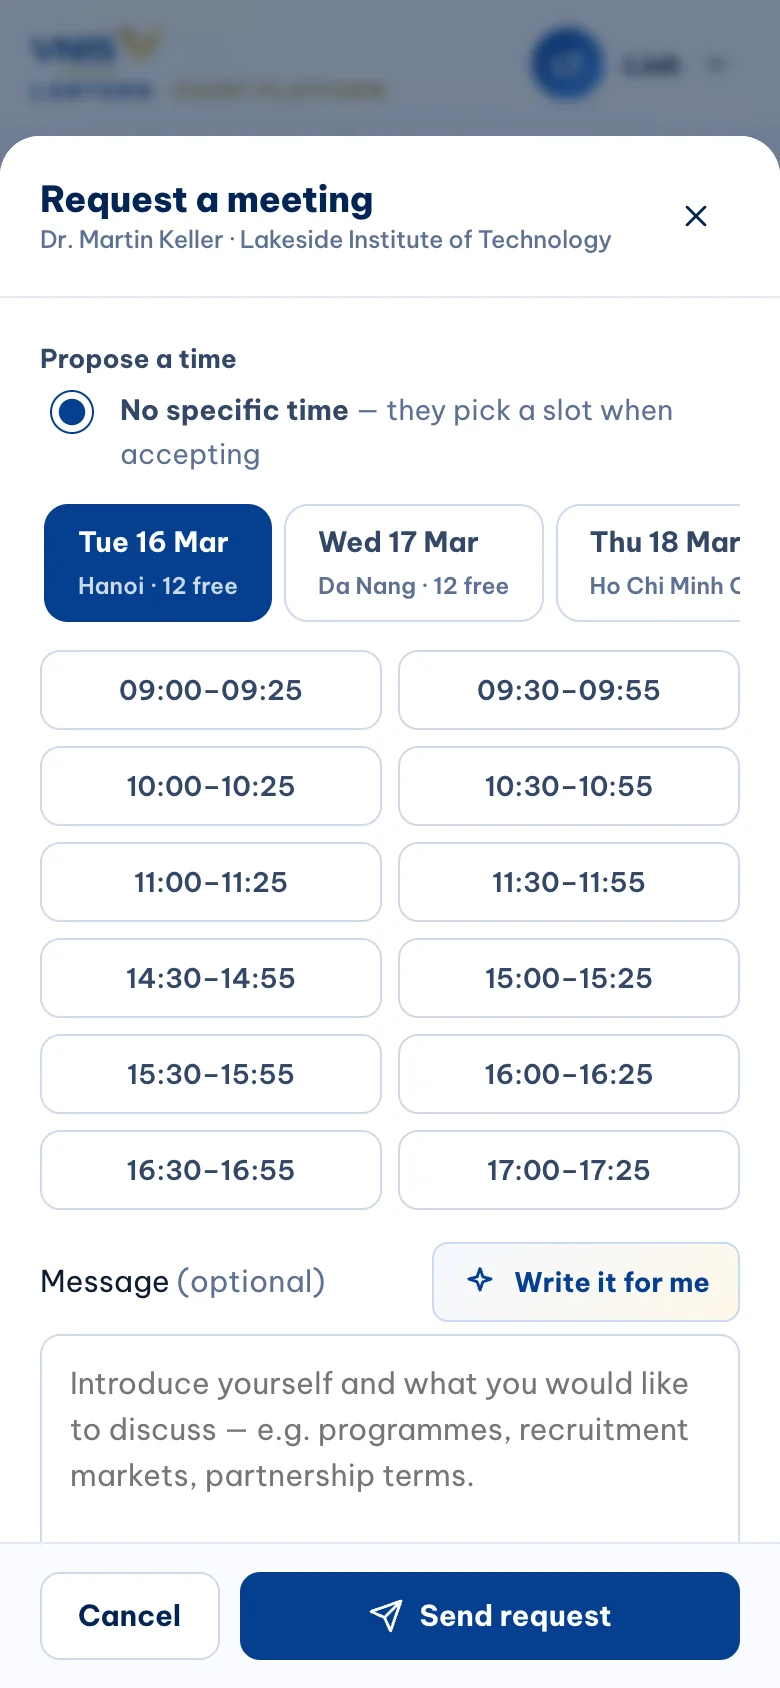
Open an agent’s profile or tap “Request” on their card. Lantern shows only the time slots when you are BOTH free — pick one, or leave it to the agent to choose.
Add a short message: who you want to meet (undergraduate, pathway, PG), what is new this year, and what you look for in a partner.
Answer requests quickly
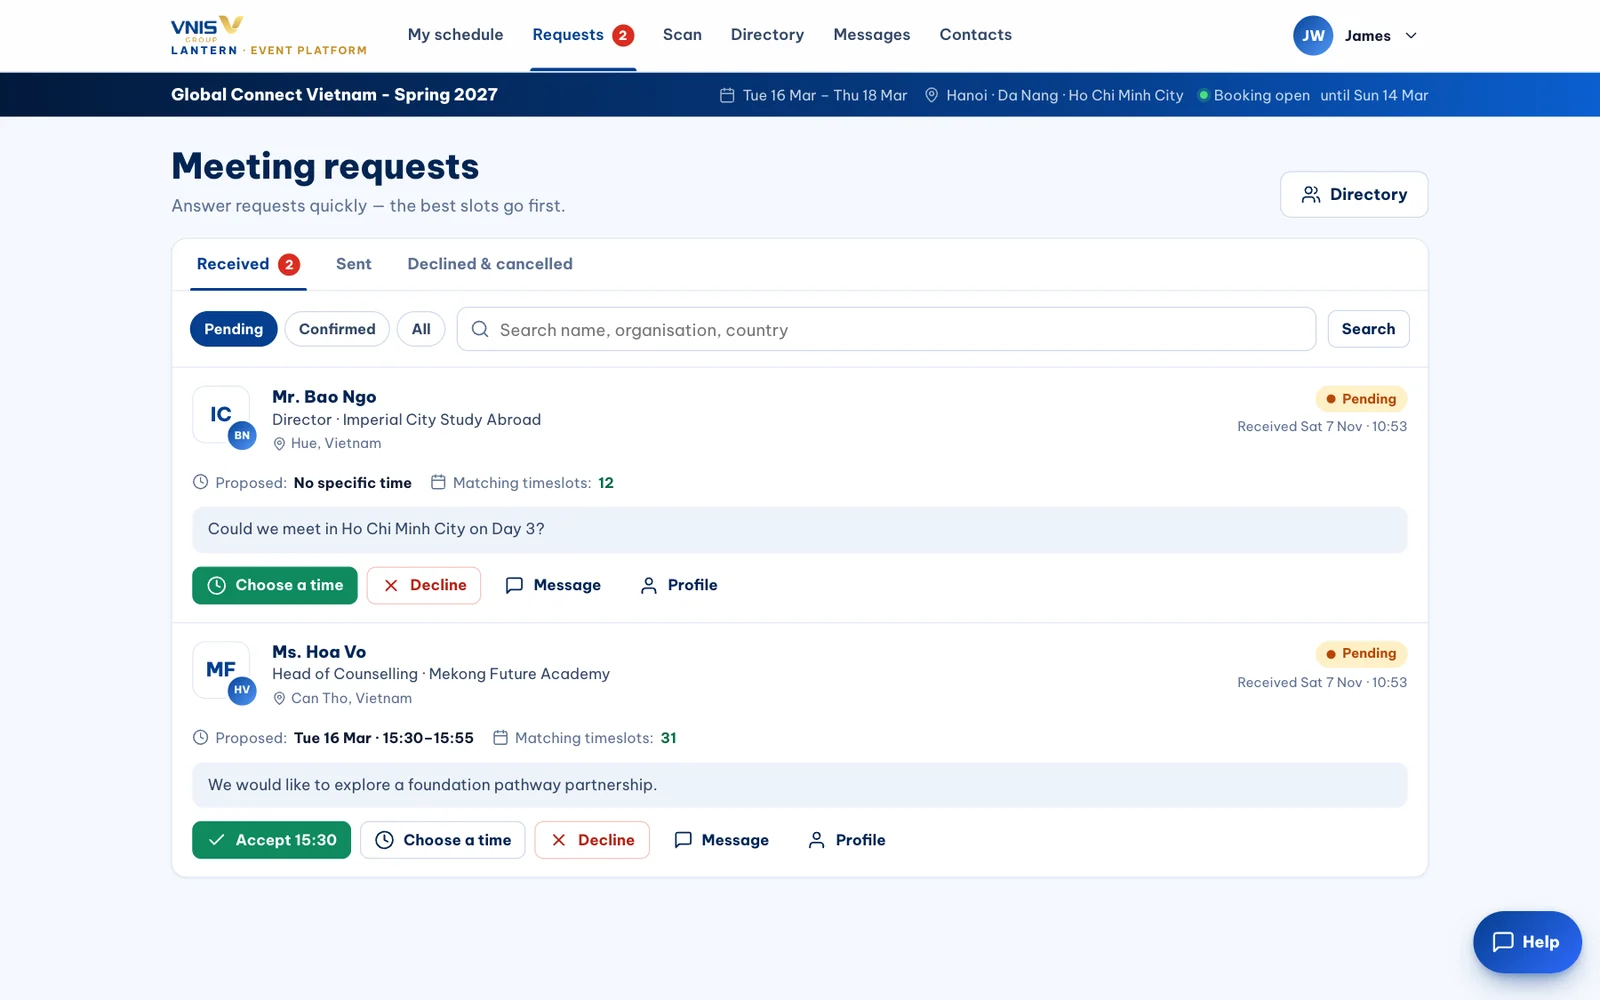
“Requests” has three lists: Received, Sent, and Declined & cancelled. The red badge shows how many are waiting for you.
Accept with one tap if the proposed time suits you, or choose another free slot from the list Lantern offers. If you cannot meet, decline with a short note — the agent is told by email.
Your schedule, day by day
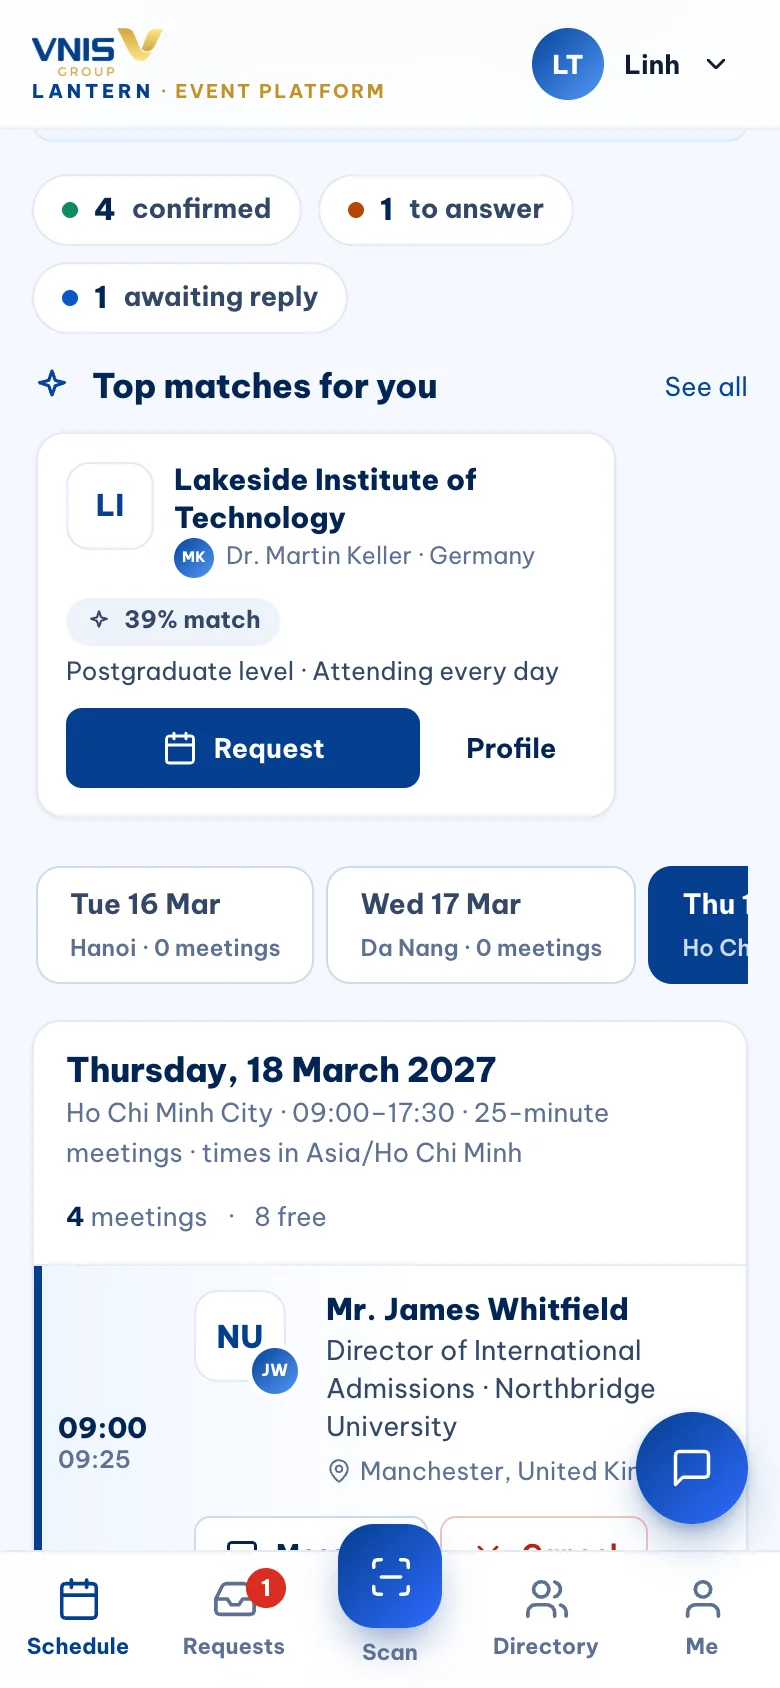
“My schedule” shows each event day as a timeline of 25-minute slots with breaks marked. Confirmed meetings show the agent, their organisation and your table.
Tap the block icon on a free slot to keep it for a personal break. Use “Print” for a paper copy or “Add to calendar” to put every meeting in Outlook, Google or Apple Calendar.
Messages
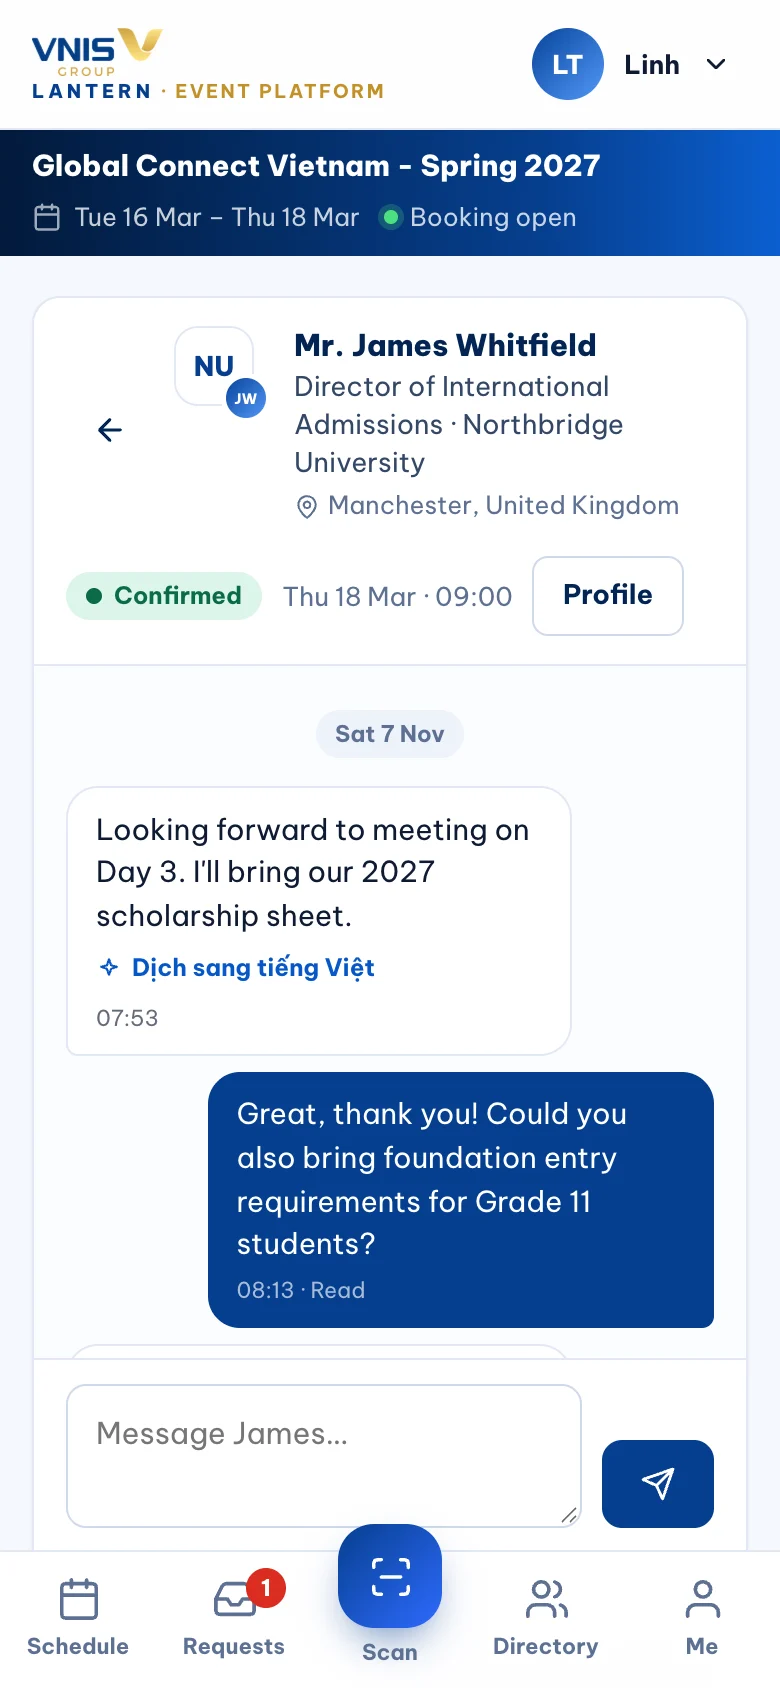
Use “Messages” to confirm details before a meeting or follow up after it. The other person gets an email when a new message arrives, so you do not need to swap personal numbers.
“Suggest a reply” drafts three options from your two profiles and the conversation — pick one, edit, send. Messages in Vietnamese show “Translate to English” underneath.
Put Lantern on your phone’s home screen
Lantern works in the browser — nothing to download. Adding it to your home screen makes it open full-screen like an app, which is handy on event days.
iPhone (Safari): tap Share → “Add to Home Screen”. Android (Chrome): tap ⋮ → “Add to Home screen” or “Install app”.
On the day: badge and check-in
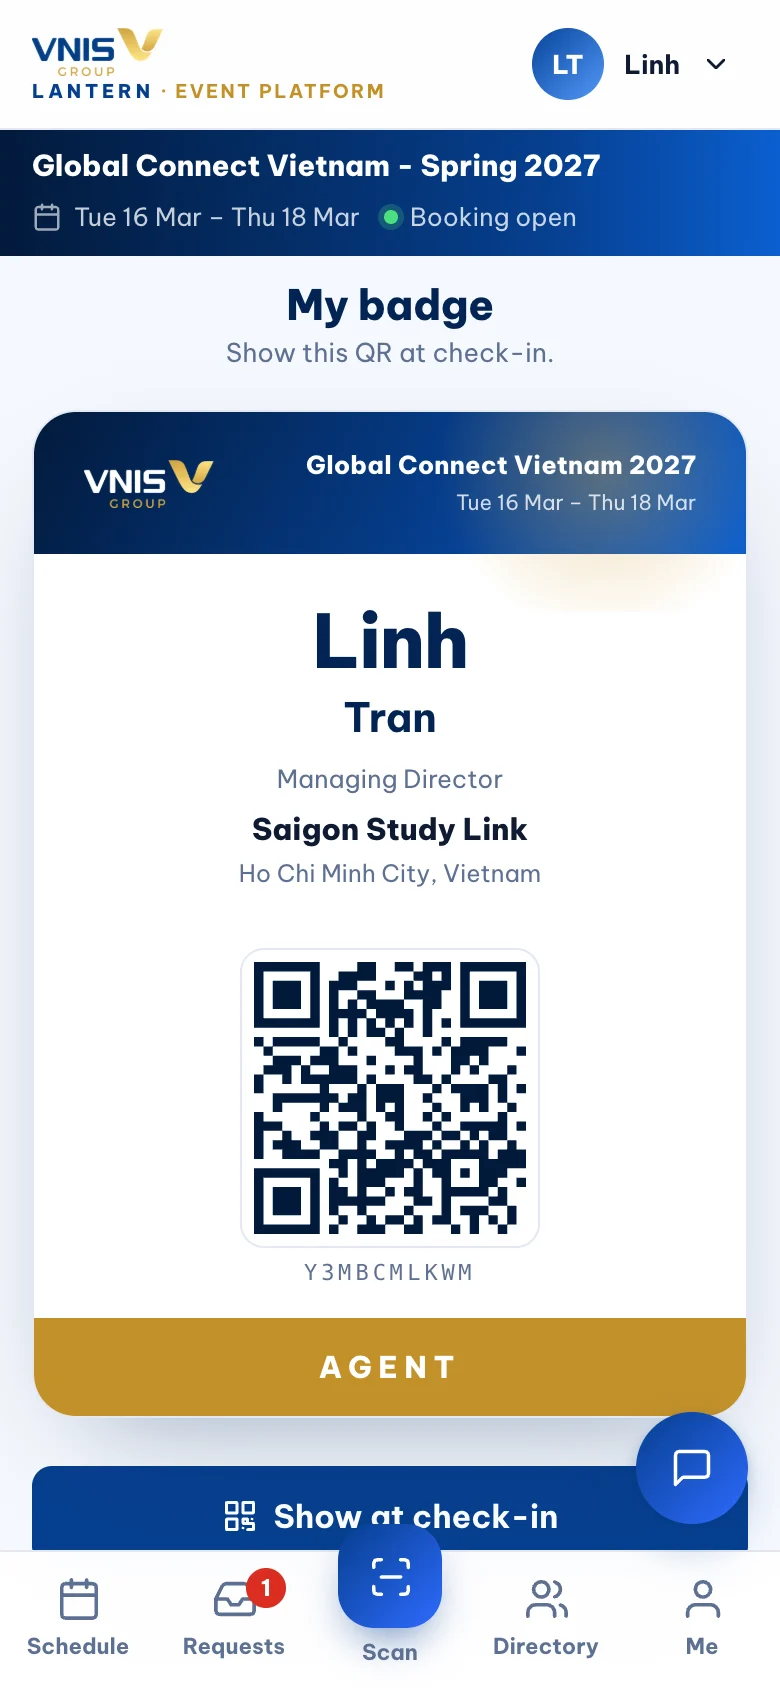
Your badge is in “My badge”. Collect the printed version at registration, or show the QR on your phone — “Show at check-in” turns your screen into a bright, scannable code.
Your table number is on your badge and on every meeting in your schedule.
Scan agent badges to save contacts
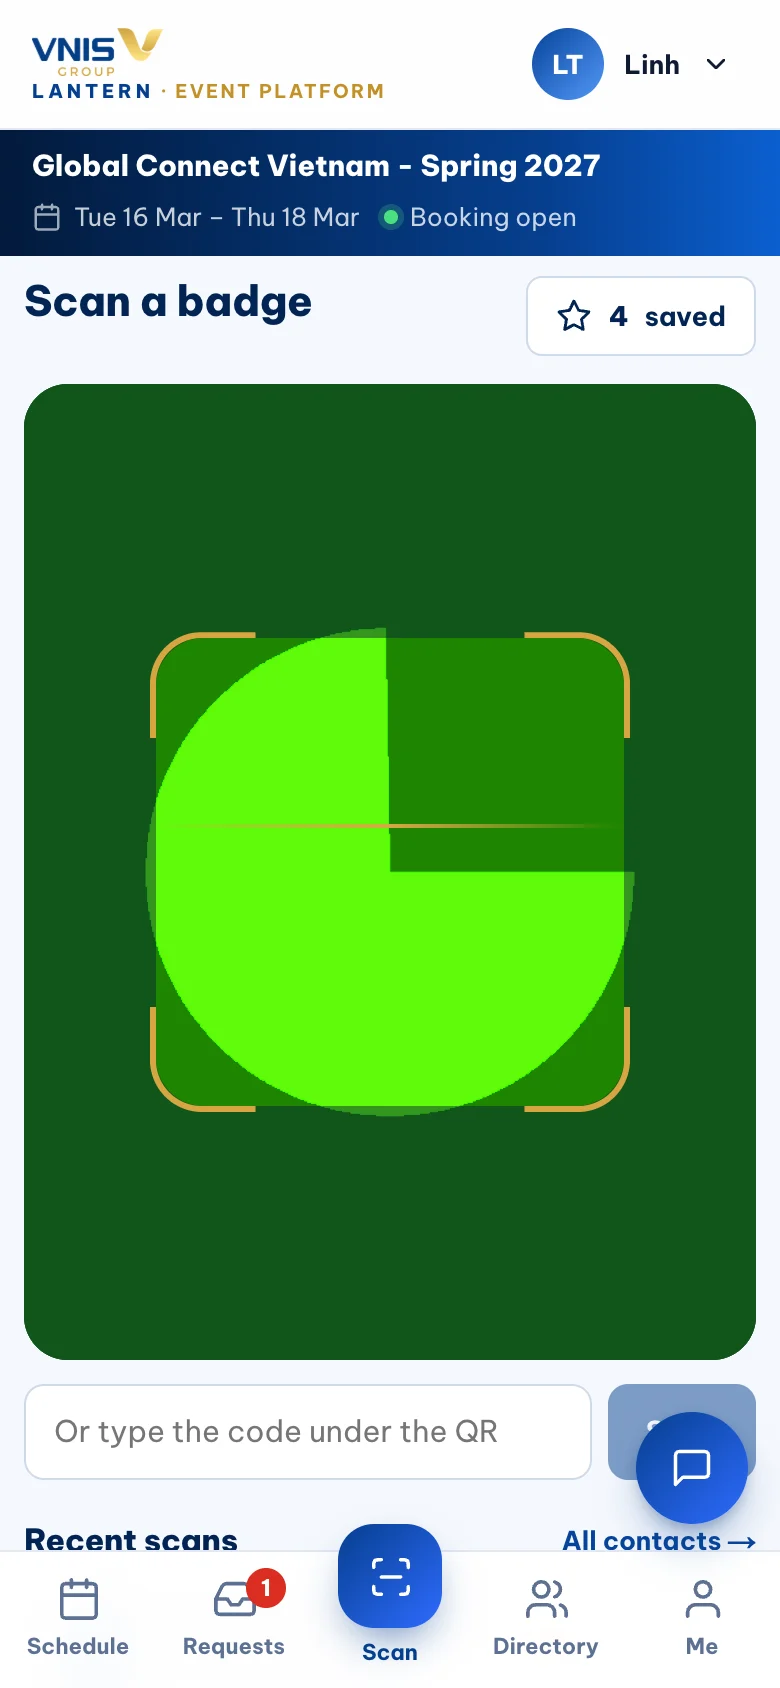
Tap “Scan” in the bottom bar and point your camera at an agent’s badge. Their details are saved instantly; tap Hot, Warm or Cold and add a quick note while it is fresh.
No signal in the hall? Scans are queued on your phone and sync automatically when you are back online.
After the event: export your contacts
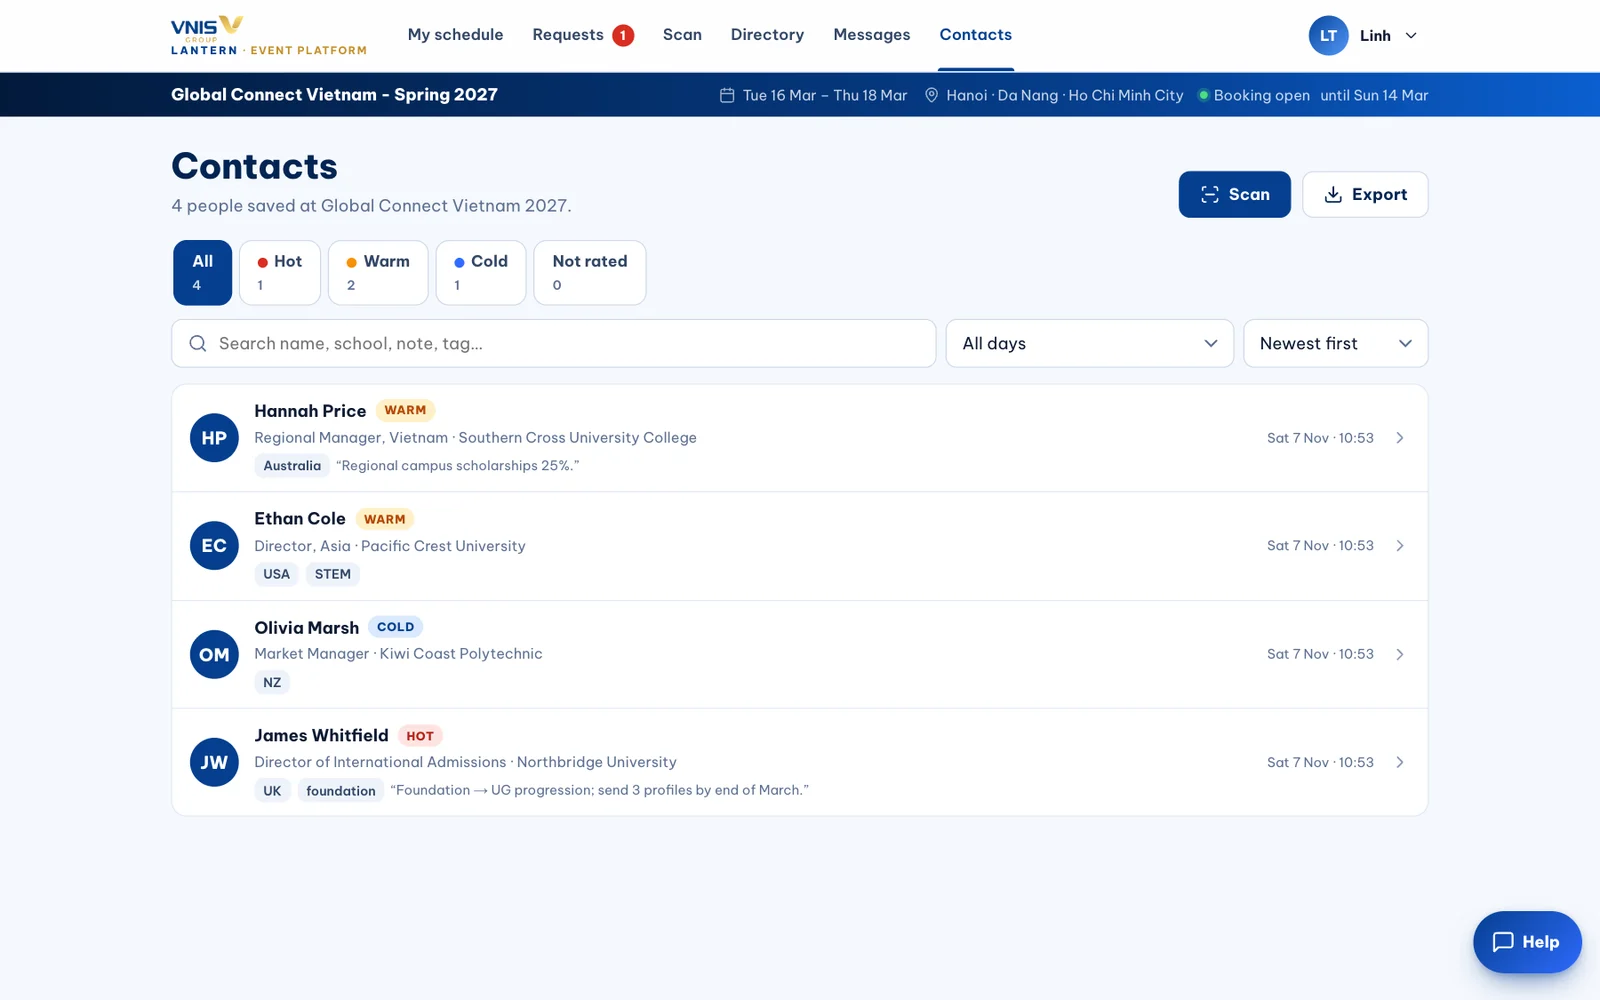
“Contacts” lists everyone you met or scanned, with your ratings and notes. Export them as a spreadsheet (CSV) for your CRM, or as vCards straight into your phone’s address book.
Frequently asked
Can a colleague attend with me?
Yes. Each representative needs their own registration so they have their own schedule and badge. Ask the organiser to add them.
Can I meet agents outside my booked slots?
Of course — walk-ins are welcome. Scan their badge so the contact is saved with the rest.
What times are shown?
Always the local time at the venue (Vietnam, UTC+7), whatever time zone your phone is in.
Who sees my email and phone?
Registered agents of the same event can see your professional contact details, as agreed at registration. They are never public.
Need a hand? events@vnis.edu.vn